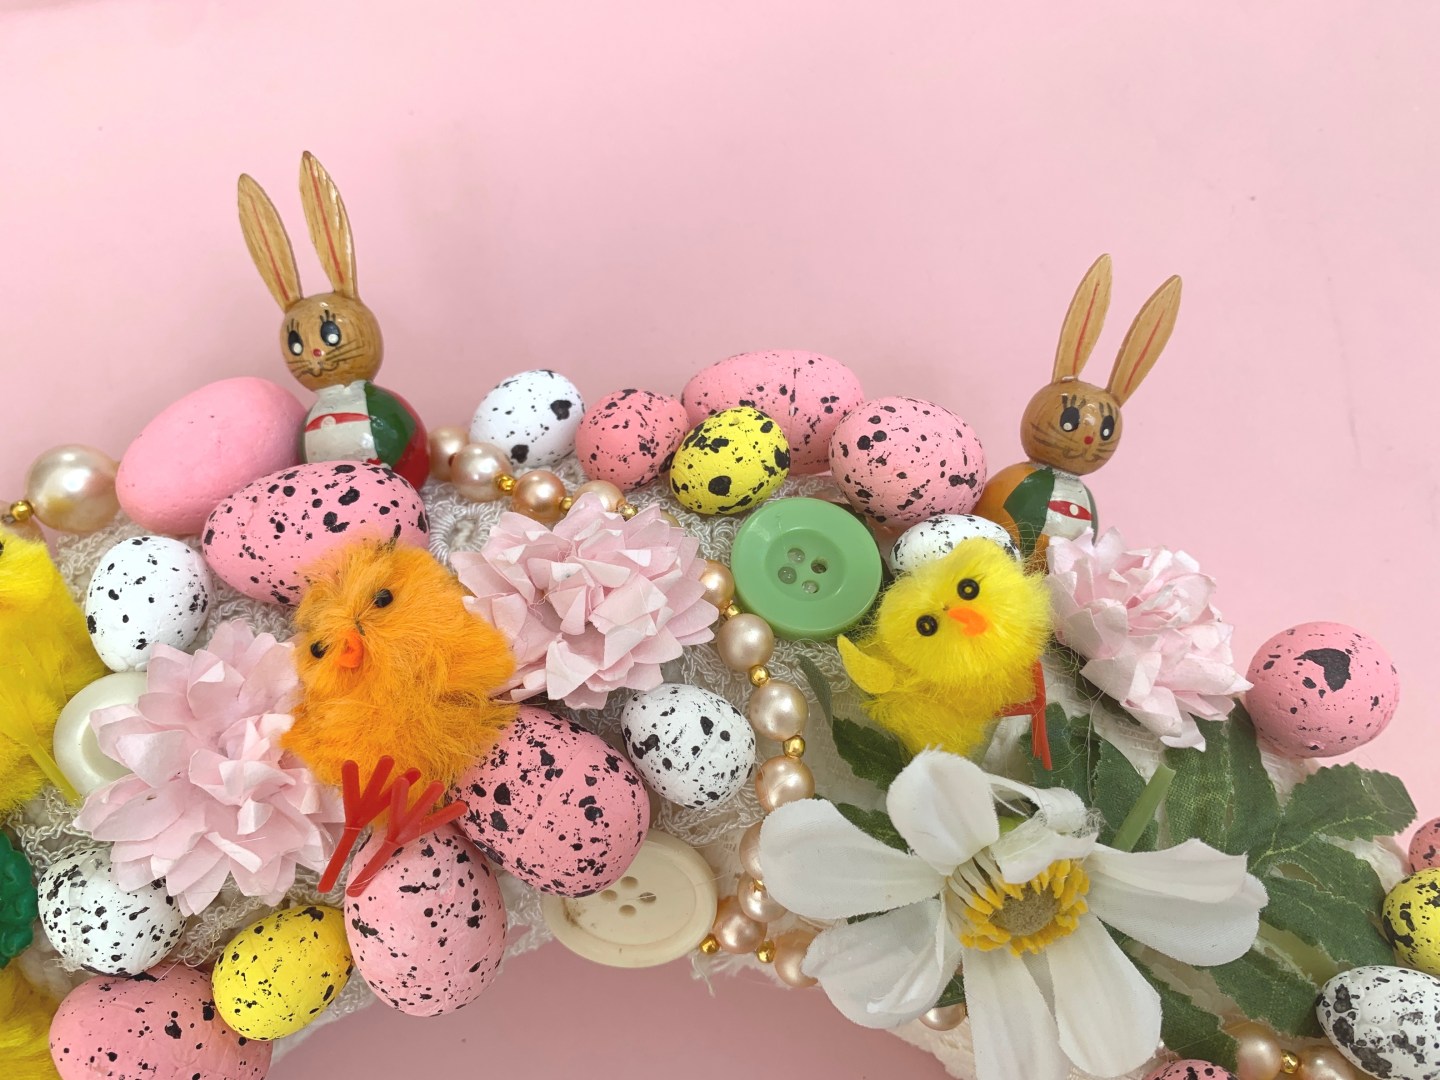
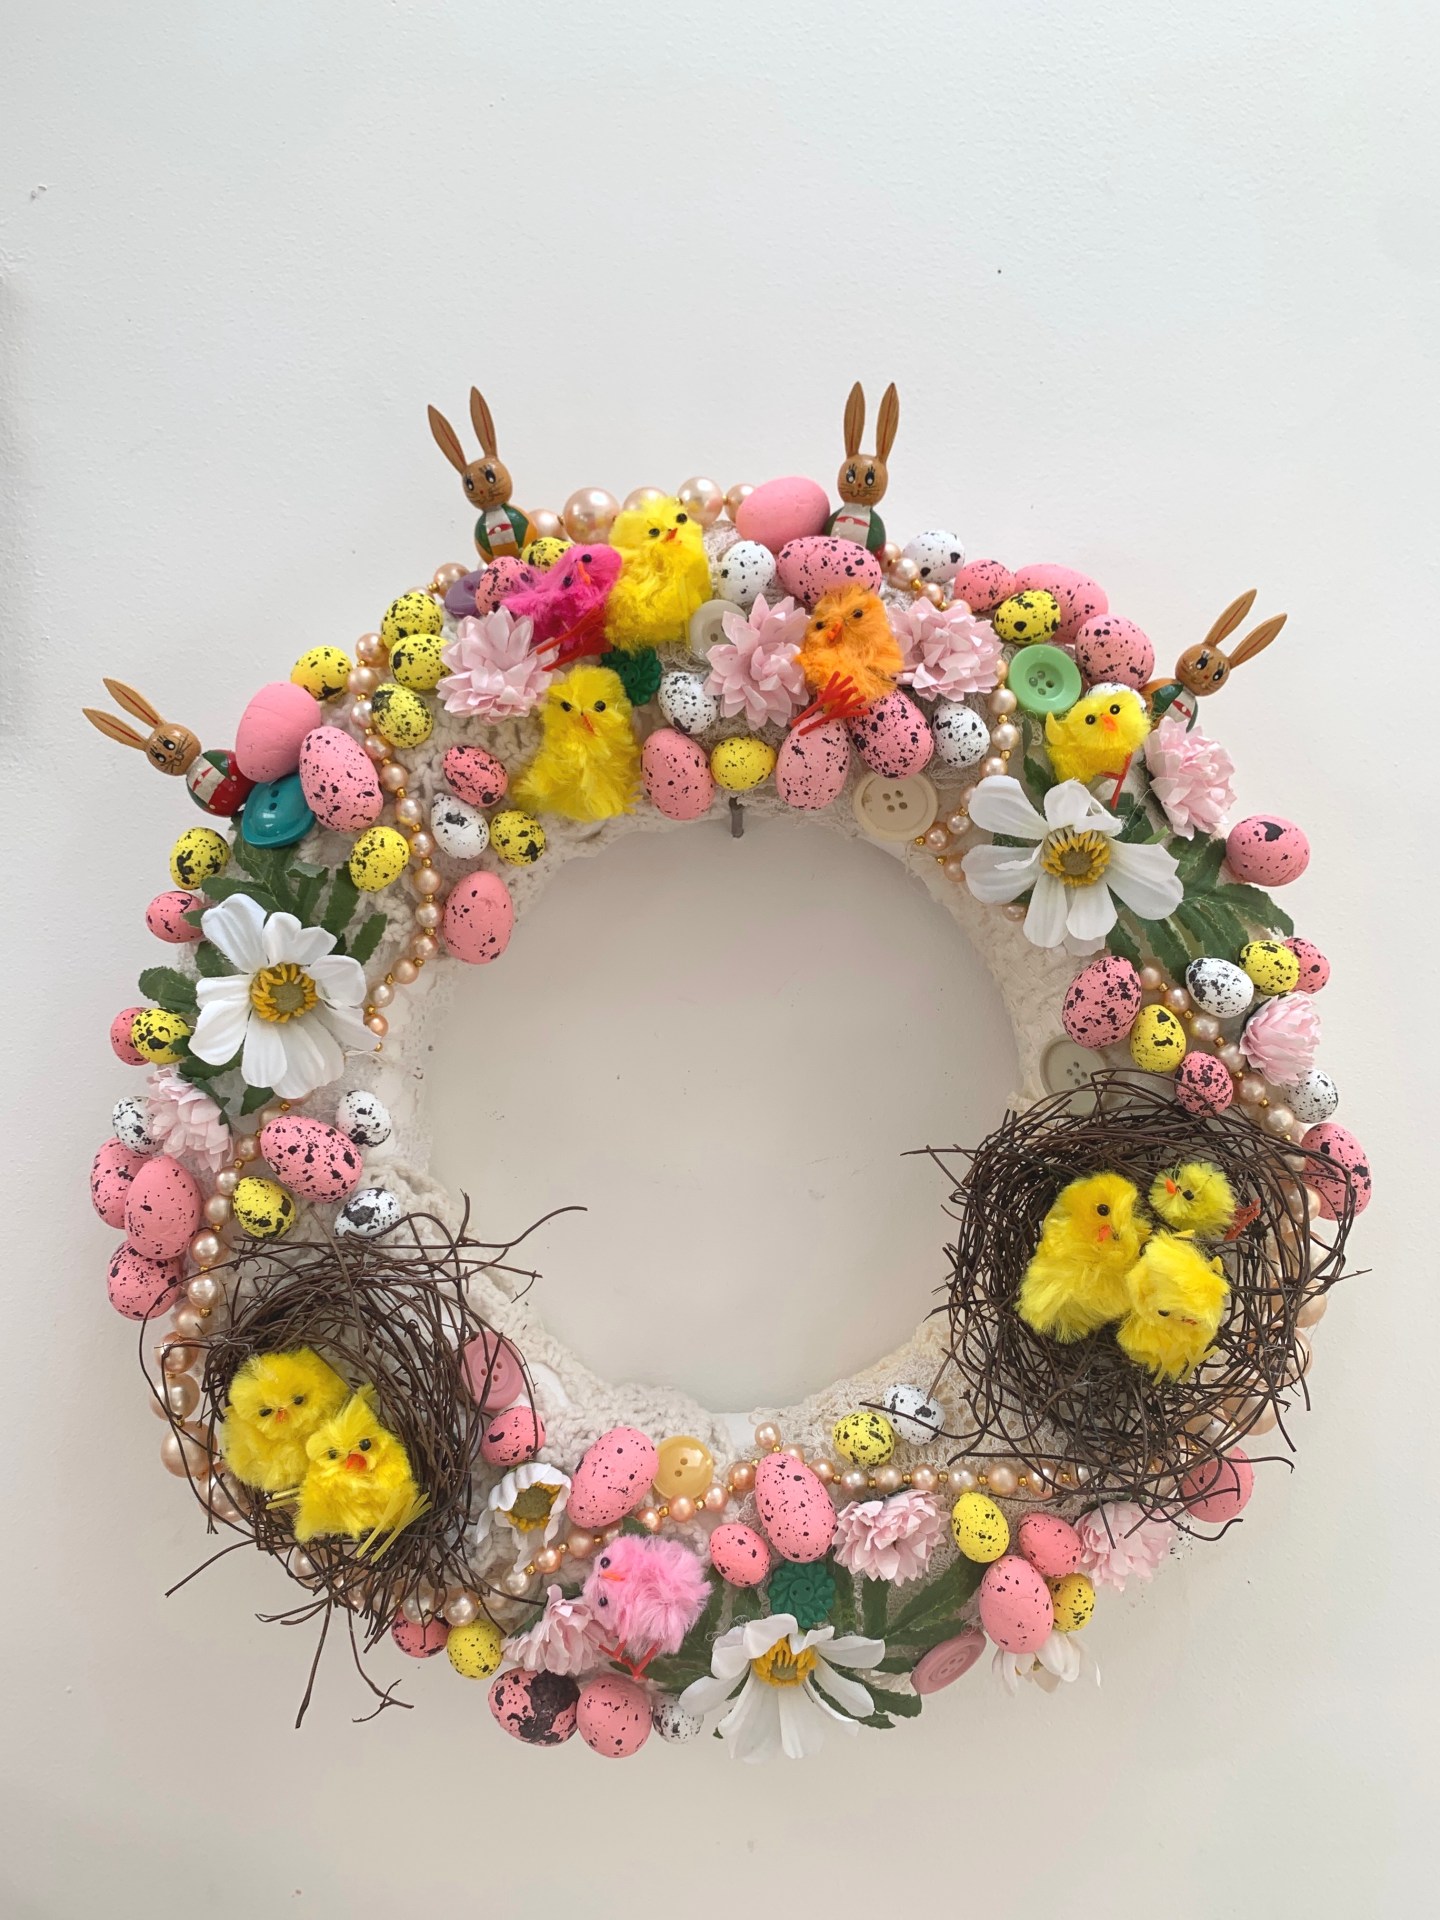
I first made this Easter wreath a few years ago but pinned everything into place, so that it could be redesigned in the future. But every year I pulled it out of the box (along with the vintage lamb and Easter decorations) only to find it was falling apart. So while in lockdown today we decided to redo it , and took photos to show you! It is made up of old vintage bits and pieces as well as egg and chicken decorations bought a few years ago from a pound shop.

MATERIALS:
- Polystyrene wreath
- Vintage doilies
- Broken pieces of vintage necklaces
- Eggs, flowers, chickens – any Easter decorations you have!
- Vintage buttons
EQUIPMENT NEEDED:
- Dress pins
- Glue and glue gun
- Scissors
Step 1: Lay out small vintage doilies onto the wreath covering all of it. Using dress pins, pin them in place to the back of the wreath. Make sure you pull it tight so it sits perfectly in place. You could or course glue them, but it will be easier with pins.


Step 2: Using the glue gun attach the vintage beads so they swirl around the whole circle. I glued only key beads so it still had a bit of movement.


Step 3: I then glued key pieces into place – firstly the birds nests I had from an old project. You could do this using small twigs from the garden. Glue any eggs or chickens into the nests.

Step 4: Glue all the flowers, eggs and then buttons into place, making sure you don’t forget the sides as these will be seen when hung. Don’t be too symmetrical – it looks better without uniform positioning.


I also added some vintage wooden bunnies to the top – I didn’t glue these as would want to use them again. I think broken brooches would work really well too!

And that’s it – simple and looks really cute with our vintage lamb and vases of handpicked flowers from the garden.


For other Easter craft ideas – check out How to make a clothes peg Easter wreath and 10 ways to have a vintage Easter.
Happy Easter everyone!


