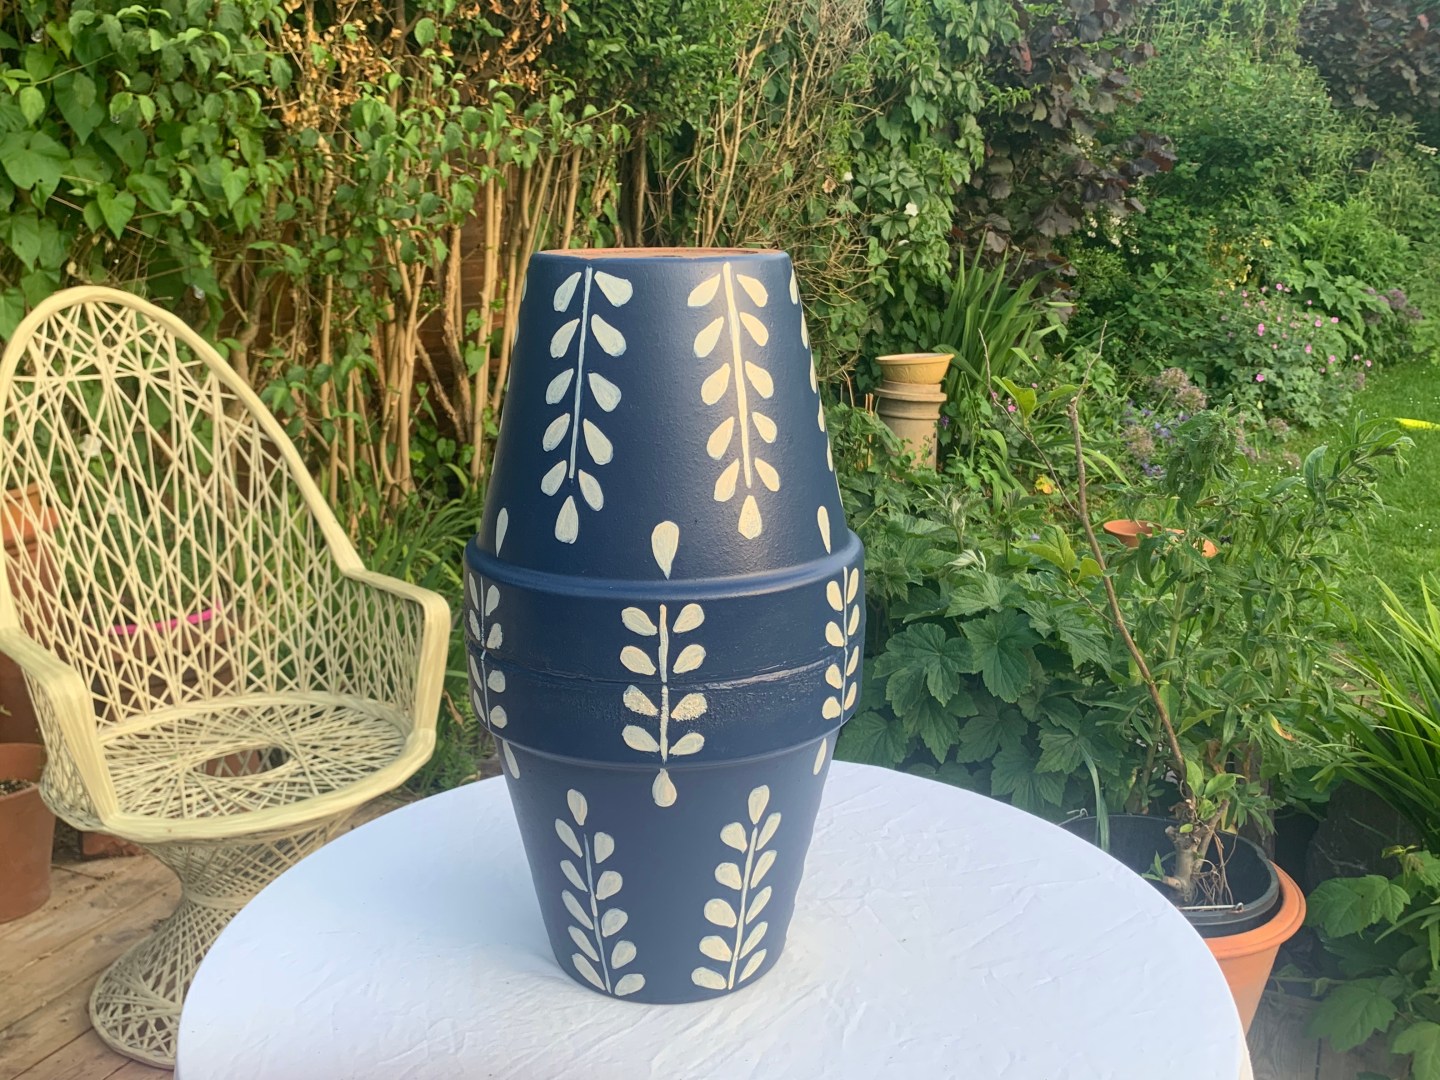
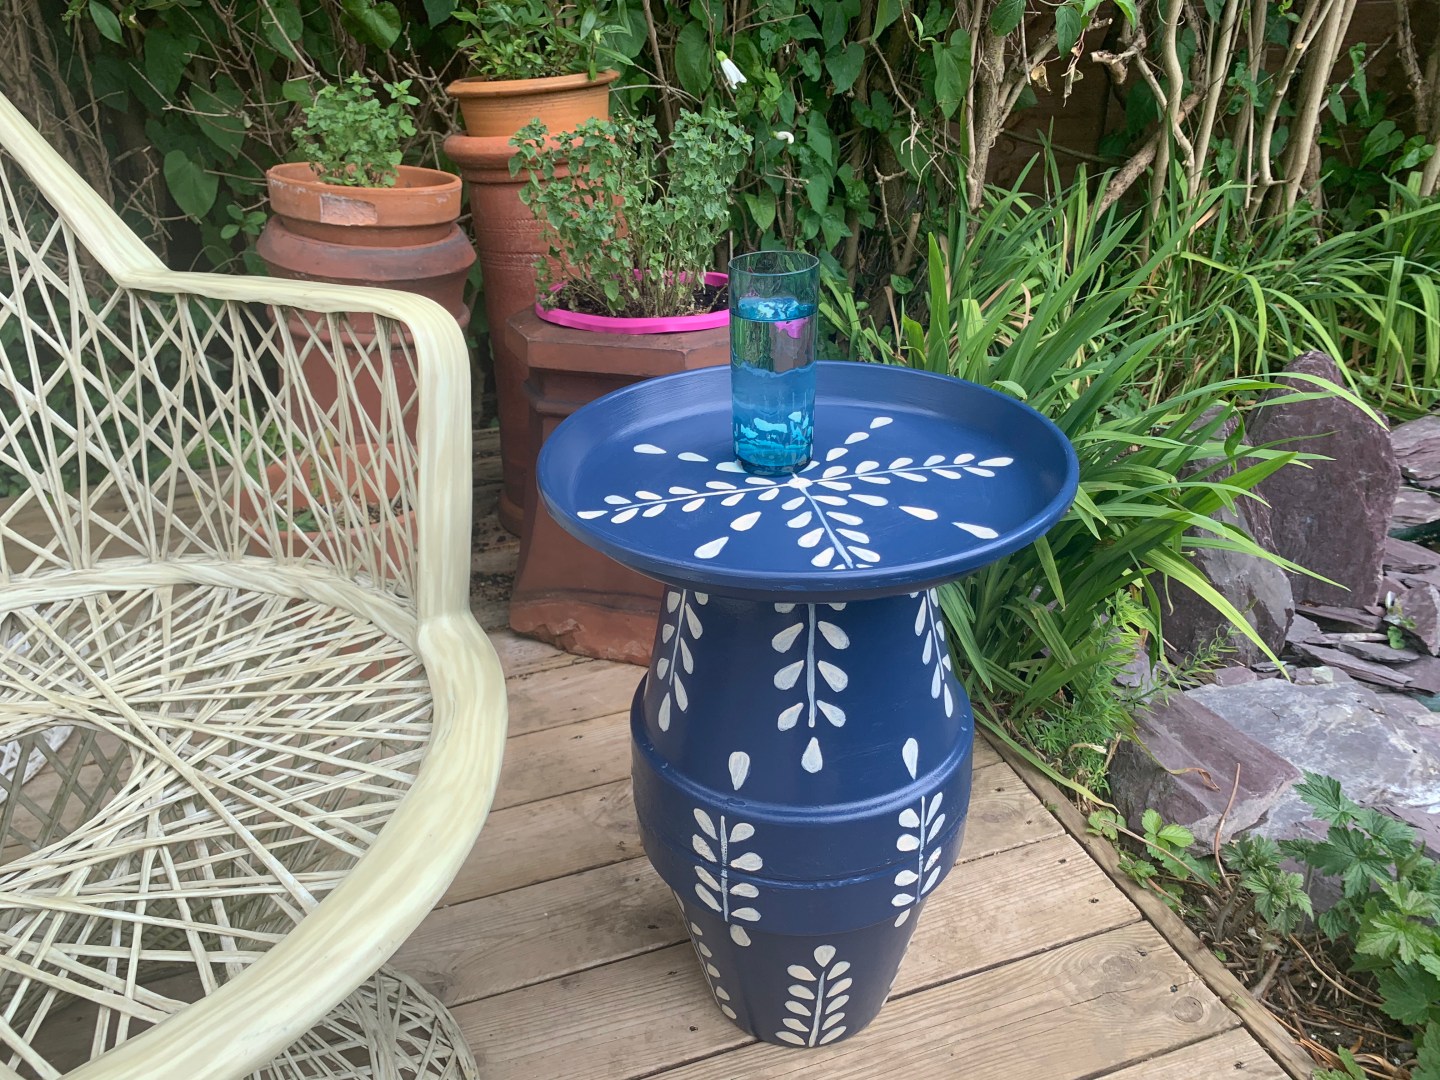
Bird baths are usually made in a boring stone colour so don’t add any colour to your garden at all, even though the birds love and need them! If you make a bird bath yourself, you can choose any colour or pattern to suit your outdoor space and design; from bold geometrics to pretty florals. Plus, it can also double up as a side table for your patio or decking area to put your G&T on in the summer months!
(This post contains affiliate links. This project was made for Take A Break Magazine in 2020)

Materials Needed:
- 2 terracotta pots of the same size (Buy here)
- 1 terracotta saucer that is significantly larger than the base of the pots. Ideally, choose one with a large lip if creating a birdbath. (Buy here)
- Outdoor paint in the colours of your choosing – most shed or decking paints can be used on terracotta (Buy here)
- If using plastic pots, you will also need a spray primer
- Clear varnish
Equipment Needed:
- Sandpaper
- Strong waterproof glue
- Paintbrushes
- Face mask if using spray primer
- White pencil and ruler to draw out any pattern
Step 1: Wash the pots and saucer and leave to dry. If they have been used before, you may well need to scrub them.

Step 2: Gently rub the pots and saucer using sandpaper to remove any lumps and bumps. Wash away all the dust and again leave to dry.
Step 3: Place one of the pots on a flat surface and carefully apply glue to the rim of the pot. Place the other pot on top, so that each rim is attached together.


Step 4: Make sure that any glue that has oozed out is wiped away to create a neat join. Place a weight on top of the structure and wait for the glue to dry.

Step 5: When the glue is dry, it is time to paint. I painted the whole of the base in one colour using garden paint in blue. Leave to dry.
Step 6: Repaint the base and leave it to dry.

Step 7: Using the white pencil gently draw out a pattern onto the base. This can be loose at this time – it is to be a guide for you.


Step 8: Using another paint, create your pattern on the base. You may need to give this a few coats.
TOP TIP: I tried the colours out on a broken pot to check that the white would go on top of the blue OK first.
Step 9: Repeat steps 5-8 for the saucer. If using a plastic saucer move to step 10.

Step 10: If using a plastic saucer, spray it on both sides using a spray primer. You will need to do this outside and wear a dust mask. Leave this to dry. You can then paint it as normal.
TOP TIP: It is supposed to look handmade so don’t worry too much about it being perfect. From a distance in your garden, it will look great, even if some of the lines are a bit wobbly up close!

Step 11: Using strong waterproof glue, stick the saucer to the top of the base. Again, put some weight such as books on the saucer and leave to dry. I then at the last moment touched up any wobbly lines to make it look as neat as possible.
Step 12: Cover the whole bird bath in a clear varnish to seal it better and to create a gloss effect.

I am making a smaller plant stand to match which I will link to when completed. I love it and we are using it currently as a plant stand!


For more outdoor crafts chock out these blogs:
How to make a potting bench from a pallet
How to make an enamel bird feeder
IF YOU LIKES THIS PROJECT THEN WHY NOT PIN IT?


