
Rather than buying vintage plates for your tea party, why not create your own by decoupaging a motif of your choice. Alternatively, personalise decoupage plates for gifts using images of pets or favourite cities that your friends and family will love.
(contains affiliate links)


Materials Needed:
- Ceramic plates
- Decoupage paper of your choice (paper napkins also work well)
- Gold paint
- Emulsion paint
Equipment Needed:
- Decoupage glue
- Paintbrushes
- Scissors
- Water-based clear varnish
- Cocktail stick
- Small piece of sponge
- Dry cloth
Step 1: Clean your plates fully and leave them to dry. Make sure there is no soap residue or dust on the plates.
Step 2: Loosely cut out the designs from your decoupage paper and start to position them onto the plates, until you are happy with the design.

You can also use a paper napkin instead of decoupage paper. Only use the very top fine layer of the napkin as you will need it to be as thin as possible.
TOP TIP: You may want to paint the plate to remove a pattern or to change the colour. This can be done by lightly sponging emulsion paint onto the plate. Leave to dry and repeat until you have the colour you want.
Step 3: Once you have decided on your design, carefully cut out the pattern using sharp scissors.
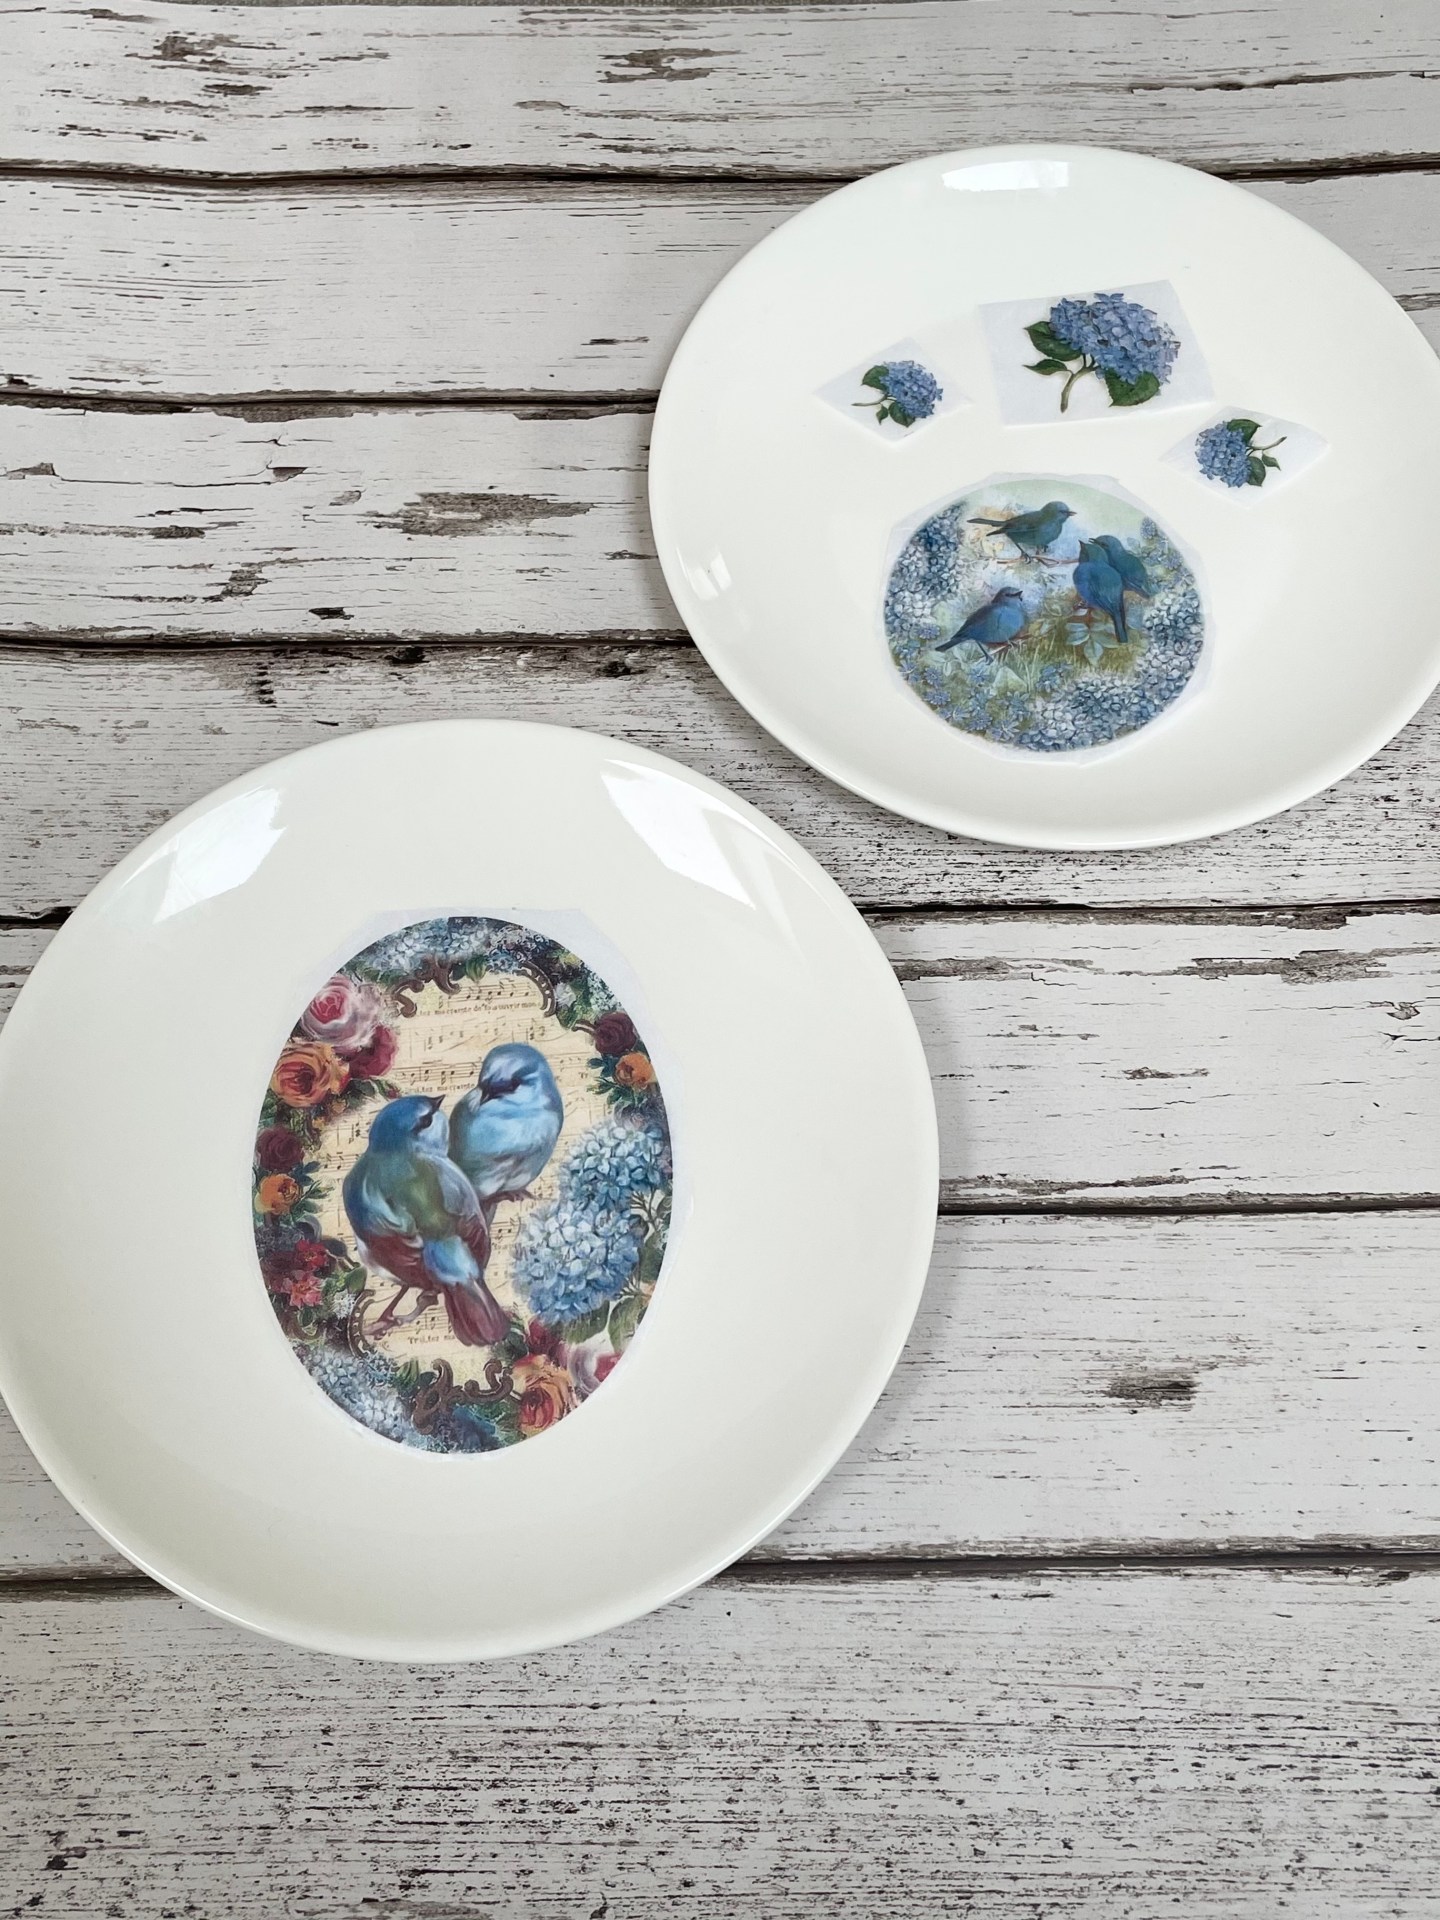
Step 4: Using decoupage glue, attach each piece onto your plate. You can also use PVA, but I would recommend decoupage glue.

TOP TIP: You can purchase dishwasher safe Mod Podge online which I suggest you use.
Step 5: Once in place carefully smooth out the paper to remove any air bubbles.
Step 6: Cover the paper with more decoupage glue. Wipe any extra away using a dry cloth.

Step 7: Repeat until finished.
Step 8: For a vintage effect, edge the plate with gold paint. I used spray paint, and sprayed it onto a disposable bowl. Using a tiny sponge, lightly dab the gold paint over the edges. As we are creating a vintage look plate, this edging does not need to be even.


Step 9: You may wish to add paint to the plate. I used a cocktail stick dabbed into a tester pot of wall paint to create a dot effect around the images.

Step 10: When fully dry, wipe over with a dry cloth to remove any dust. Remove any glue or paint that you do not want to.

Step 11: Lastly, using a paintbrush, cover the plate with a thin layer of water-based clear varnish. Repeat on the reverse and leave to dry.


This first appeared in Take A Break Magazine.

Check out my other vintage DIY tutorials here, here and here.
