Filling your kitchen with herbs is a great way to add colour and fragrance to the room plus they’re great for cooking! Don’t take up precious worktop space though – create your own hanging planter with my DIY pallet herb planter and hang in the window.

MATERIALS USED:
- Rear support bars from one pallet – I used 3
- Small plant pots and herbs
- 4 metres of 10mm rope
EQUIPMENT NEEDED:
- Saw
- Sand paper
- Drill with 10mm drill bit
- Jigsaw
- Pencil
- Tape measure
- Tape
- Sharp scissors
- A half round file
- Small nails – 4 for each shelf
- Spirit level
- Dust Mask
- Hook screws and pole to hang
HOW TO MAKE THIS PROJECT
Step 1: Using the saw, cut the rear support panels from the pallet into as many strips that you want for your planter. Avoid any nails that are in the wood. I used 3 panels at 45cm long. Wear a dust mask for all cutting and sanding.


Step 2: To ensure that all panels are the same length, stack them on top of each other and cut off any extra bits.


Step 3: Position the pots on the wooden panels to decide how many you want to have on each length.

Step 4: Using the tape measure, ensure that each pot is evenly positioned.

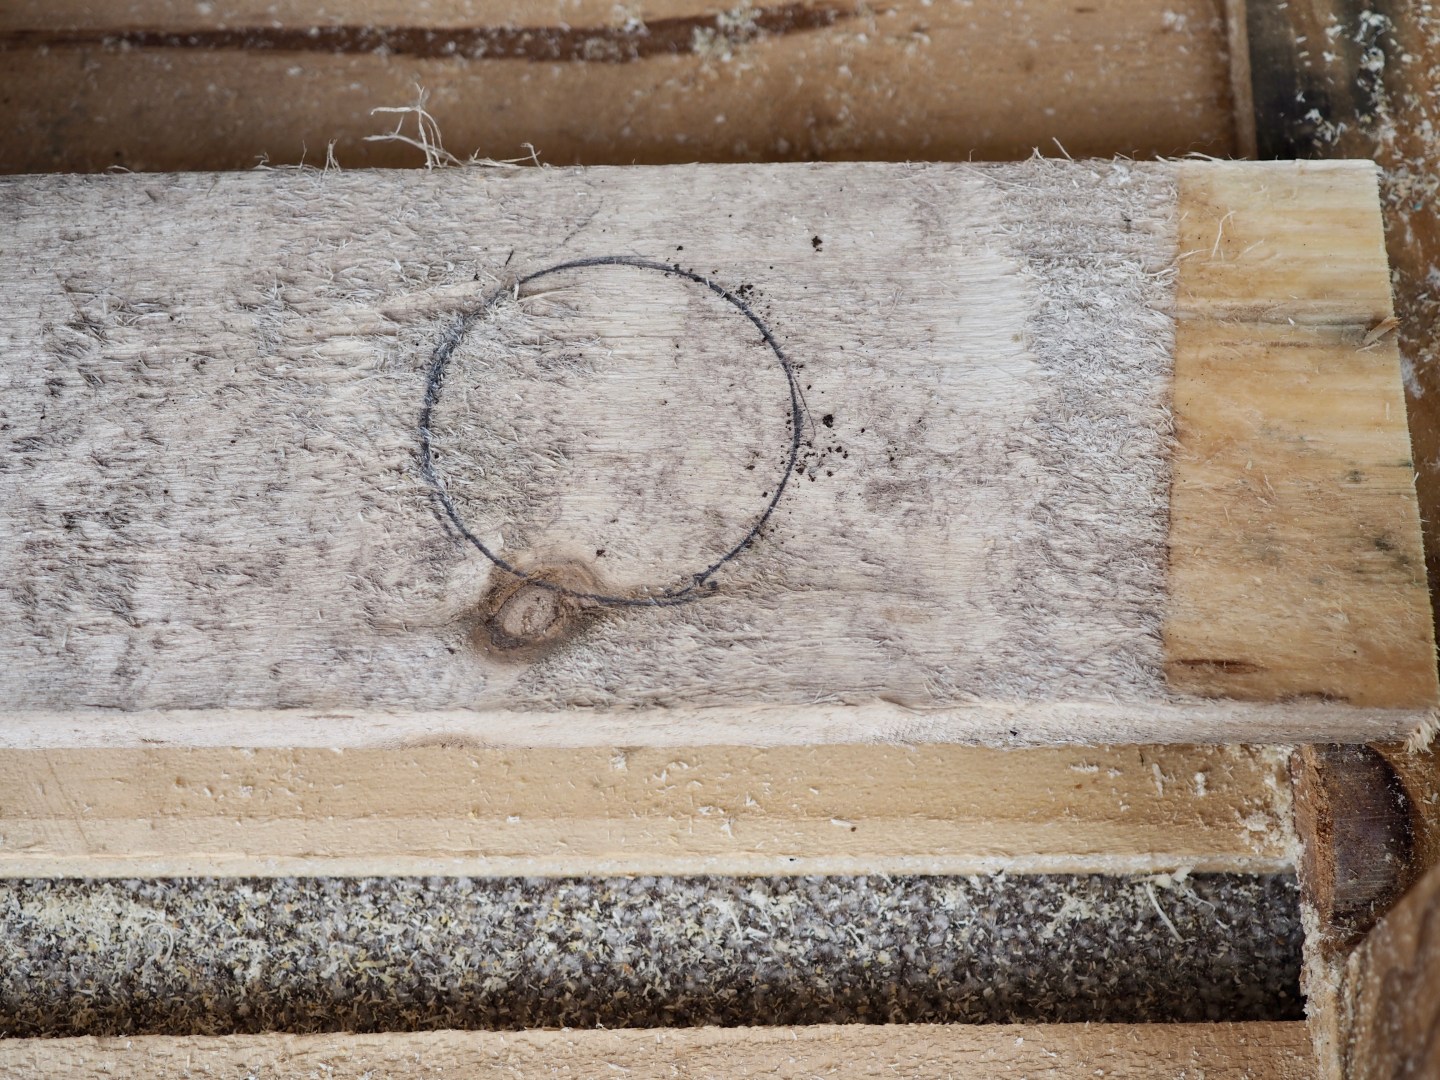
Step 5: Draw round the base of the pot with the pencil. Please note that this will NOT be the circle you will need to cut out – you need to create a circle of the central point of the pot.

Step 6: Measure the width of the centre of the pot. Mine were 8 cm at the centre point. On the wooden panel, draw a larger circle around the original circle.


TOP TIP – I found a roll of tape sat perfectly around the centre of my pots then used this as a template to draw around.

Step 7: Using the drill, create a hole against the drawn circle on the inside of it. This creates a starting point for the jigsaw.

Step 8: Cut out the full circle using the jigsaw.

Step 9: Using sand paper or a sander, sand all the wood on both sides including the edges. Remember to sand inside the holes too for a smooth finish using a half round file.


Step 10: You now need to drill a hole in every corner of the wood for the rope to go through so measure and mark where you want these to be. Using the same size drill bit for the width of the rope, drill the holes.


Step 11: Sand any rough edges around the holes with the sand paper.
Step 12: Cut two lengths of rope to hang the shelves. I used 2 x 2 metres.

Step 13: Wrap tape around the ends of the rope so they thread through the holes easily.
Step 14: Thread the rope through the ends creating one large loop. Create a knot at each end so the bottom shelf sits properly. Remove the tape and unravel the rope up to the knot.

Step 15: To position the other shelves into place, push a small nail through the rope with the sharp end facing inwards. The shelves will then sit on top of these.

TOP TIP: Make sure all the shelves are straight using a spirit level.

There are two ways that the herb planter could be hung. One way is to drill through the back rope straight into the wall. Alternatively, attach two large hook screws either into the wall or ceiling, and place a pole such as a broom stick onto the hooks. The rope can then hang from the pole – this way you can take it off to clean if it gets dirty from the plants. Finish off by planting some herbs which can be bought from supermarkets.
IF YOU LIKED THIS PLEASE PIN IT!

For more DIY Tutorials from pallets check out these blogs:
A step by step guide – how to make a pallet potting bench
A step by step guide – how to make a Christmas sign
This is my project for the spring issue of Take A Break Magazine.


