The gold starburst mirror was designed as early as the 1920s, but it wasn’t until the late 1960s that they became popular. Today a vintage one can be pretty pricey, and even a reproduction one can set you back so why not create your own? They are perfect to add any glamour to any bedroom but of course would work well in a lounge or hallway too!
MATERIALS USED:
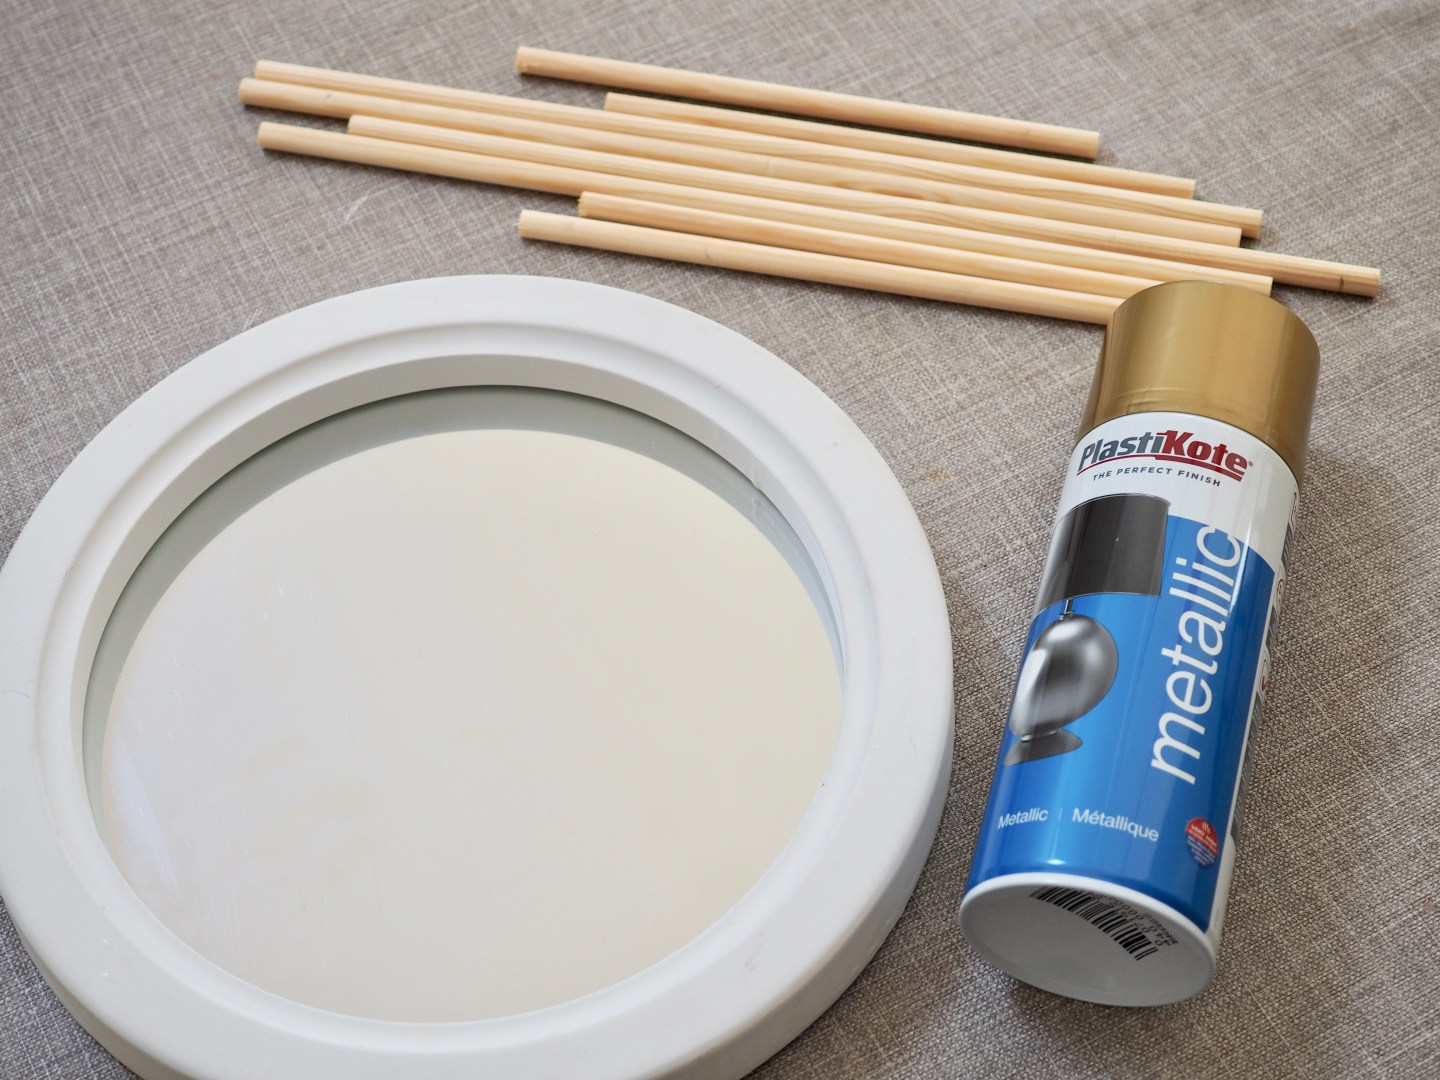
- Small round mirror with frame (I bought mine for £7.99 from The Range)
- 5 x 2.5m lengths of 9mm dowel bought from a hardware shop
- Gold spray paint
- A piece of 3mm hardwood to fit the back of the mirror
- Hook to hang the mirror
EQUIPMENT NEEDED:
- Saw
- Circular saw
- Pencil and ruler
- Low tac masking tape
- Dust mask
- Heavy duty glue
- Screw driver
- Piece of newspaper
- Sticky Tape
- Sand paper
- Fine paint brush (optional)
HOW TO MAKE THIS PROJECT
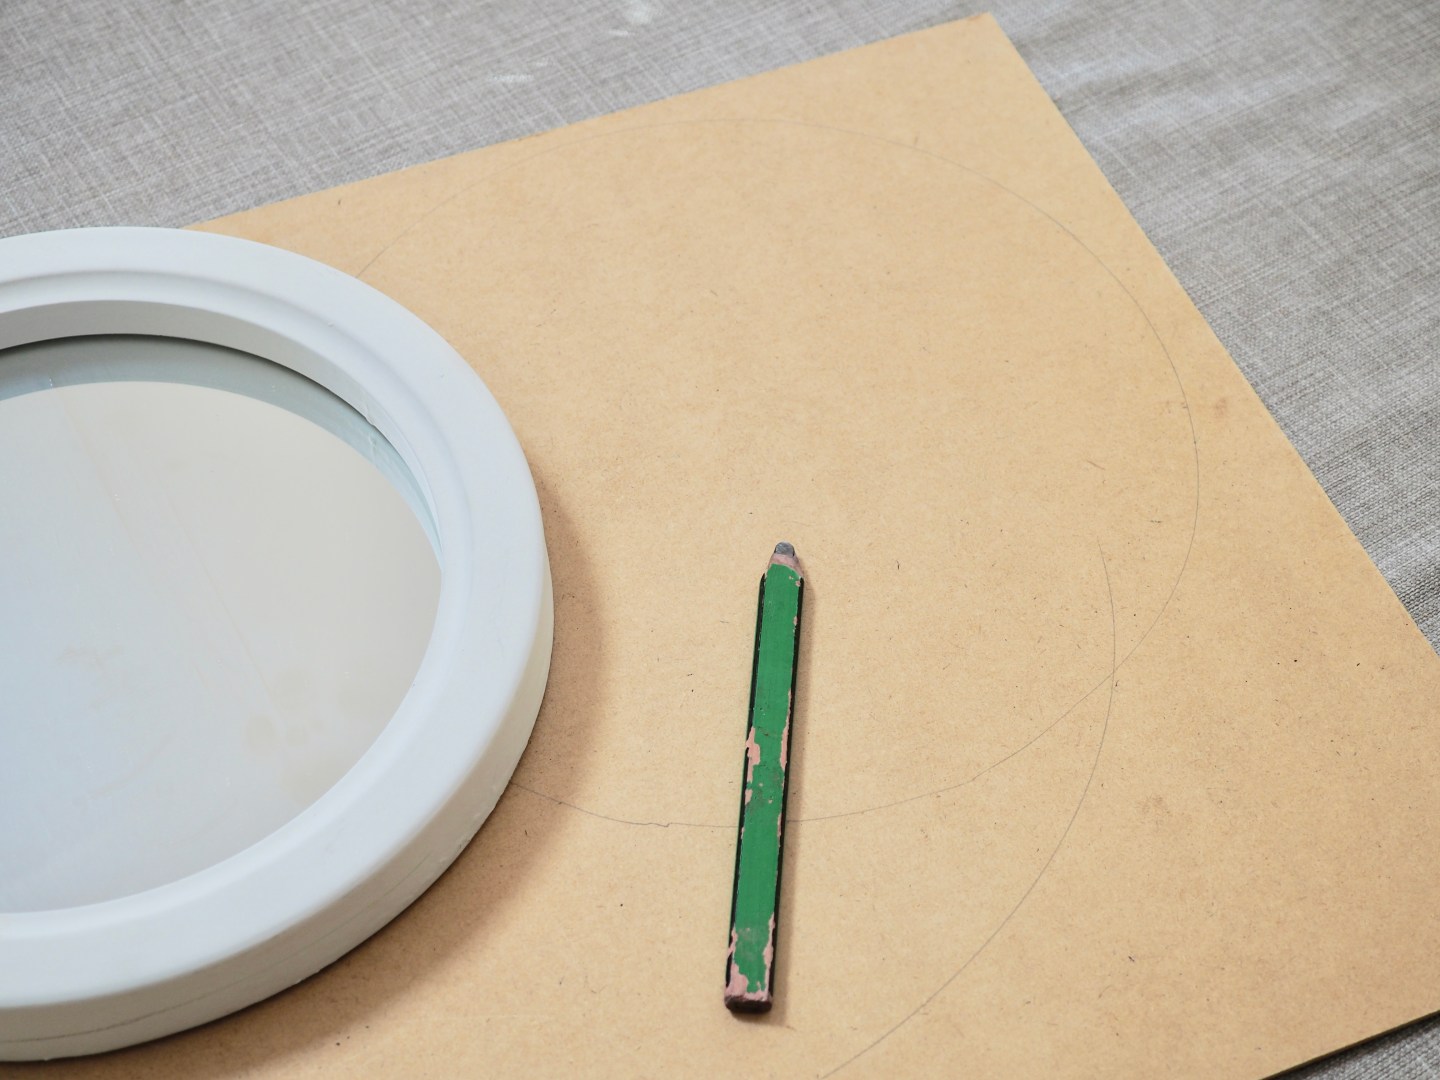
Step 1: Using a pencil draw around the mirror onto the hardwood and cut out using a circular saw. Leave to one side for later.
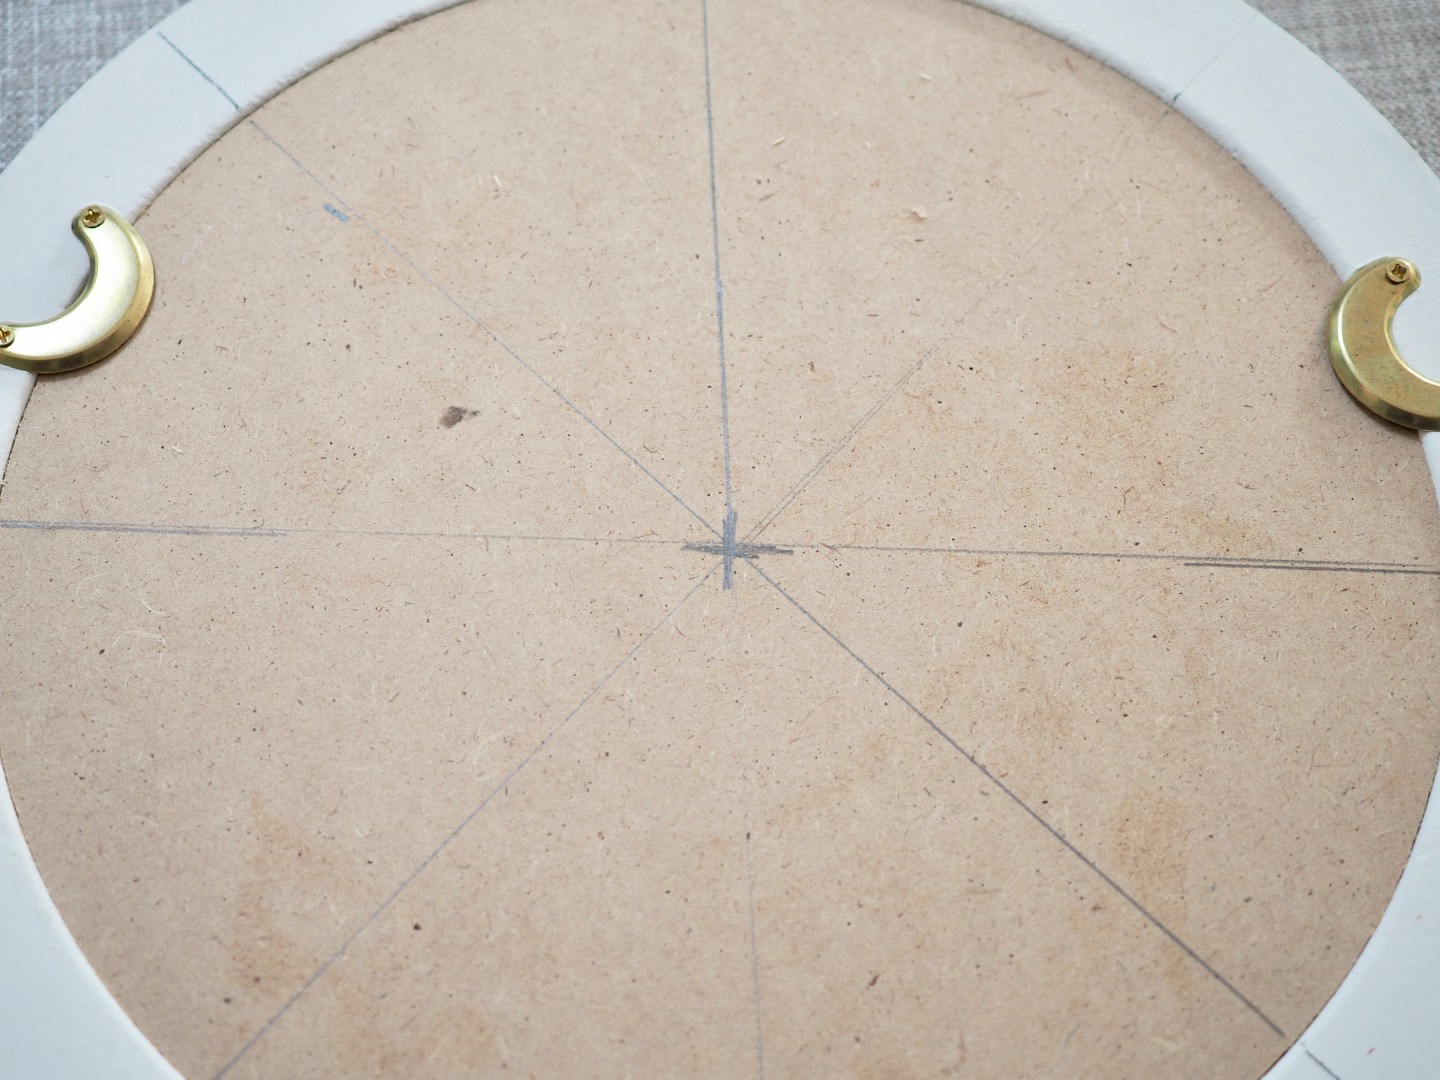
Step 2: Turn the mirror over and using the pencil and ruler, pin point the central point of the mirror and draw a line from side to side and top to bottom. Using the ruler mark the back into eight sections.
 Step 3: You will now need to cut the dowels into lengths. Depending on your design the lengths will vary. I cut 8 longer sections of 33cm, 16 x 24cm, 16 x 20cm and 8 x 17cm. However you design your spikes to sit, make sure you have aprox. 8cm of length more than needed so it can be fixed securely to the back of the mirror.
TOP TIP:
You could use garden canes for a different look – bamboo mirrors are very fashionable right now!
Step 4: Position the longer lengths on the back of the mirror ensuring they are all sticking out at the same length. I did this by marking on the back the same dimension on every line drawn.
Step 5: Glue the longer lengths into place using a strong adhesive. Leave to dry.
TOP TIP:
It is a good idea to stick these down with tape first to make sure you are happy with the positions.
Step 6: Position all the other dowels into place then glue them down. These will now need to be weighted to make sure they don’t move as the glue is drying – I used old jars! Leave to dry fully.
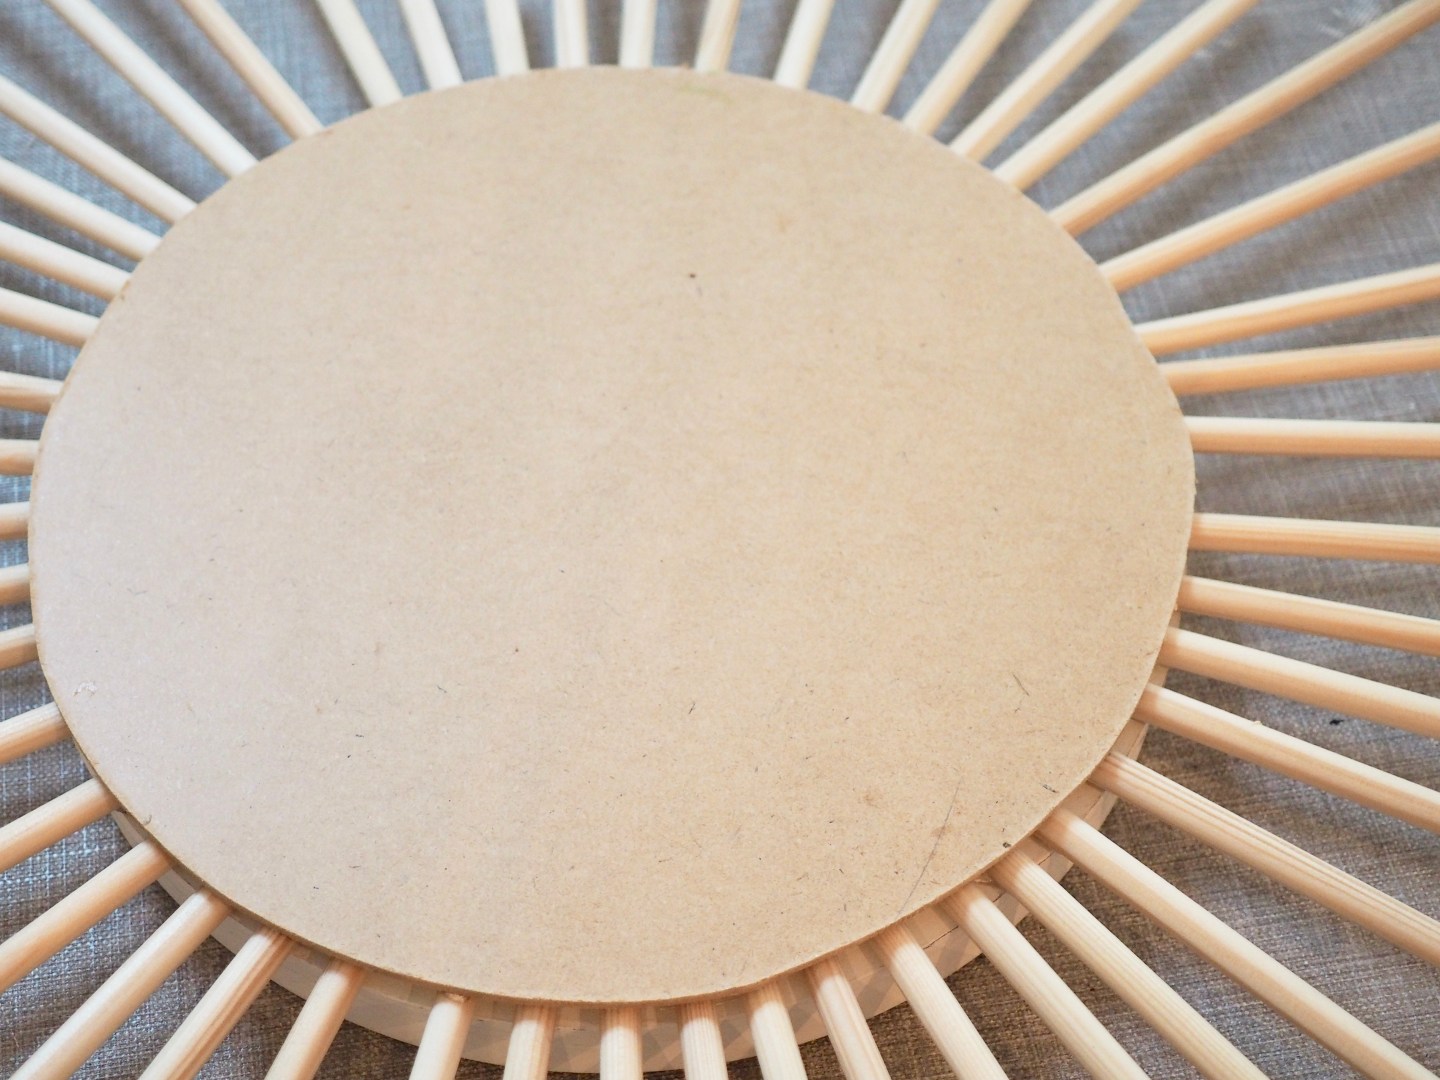
Step 7. When the glue is dry, fix the circle piece of hardwood onto the back using more glue. Position it so the smooth side is facing outwards. Weight down and leave to dry fully.
TOP TIP:
You may need to lightly sand down the ends of the dowels before painting.
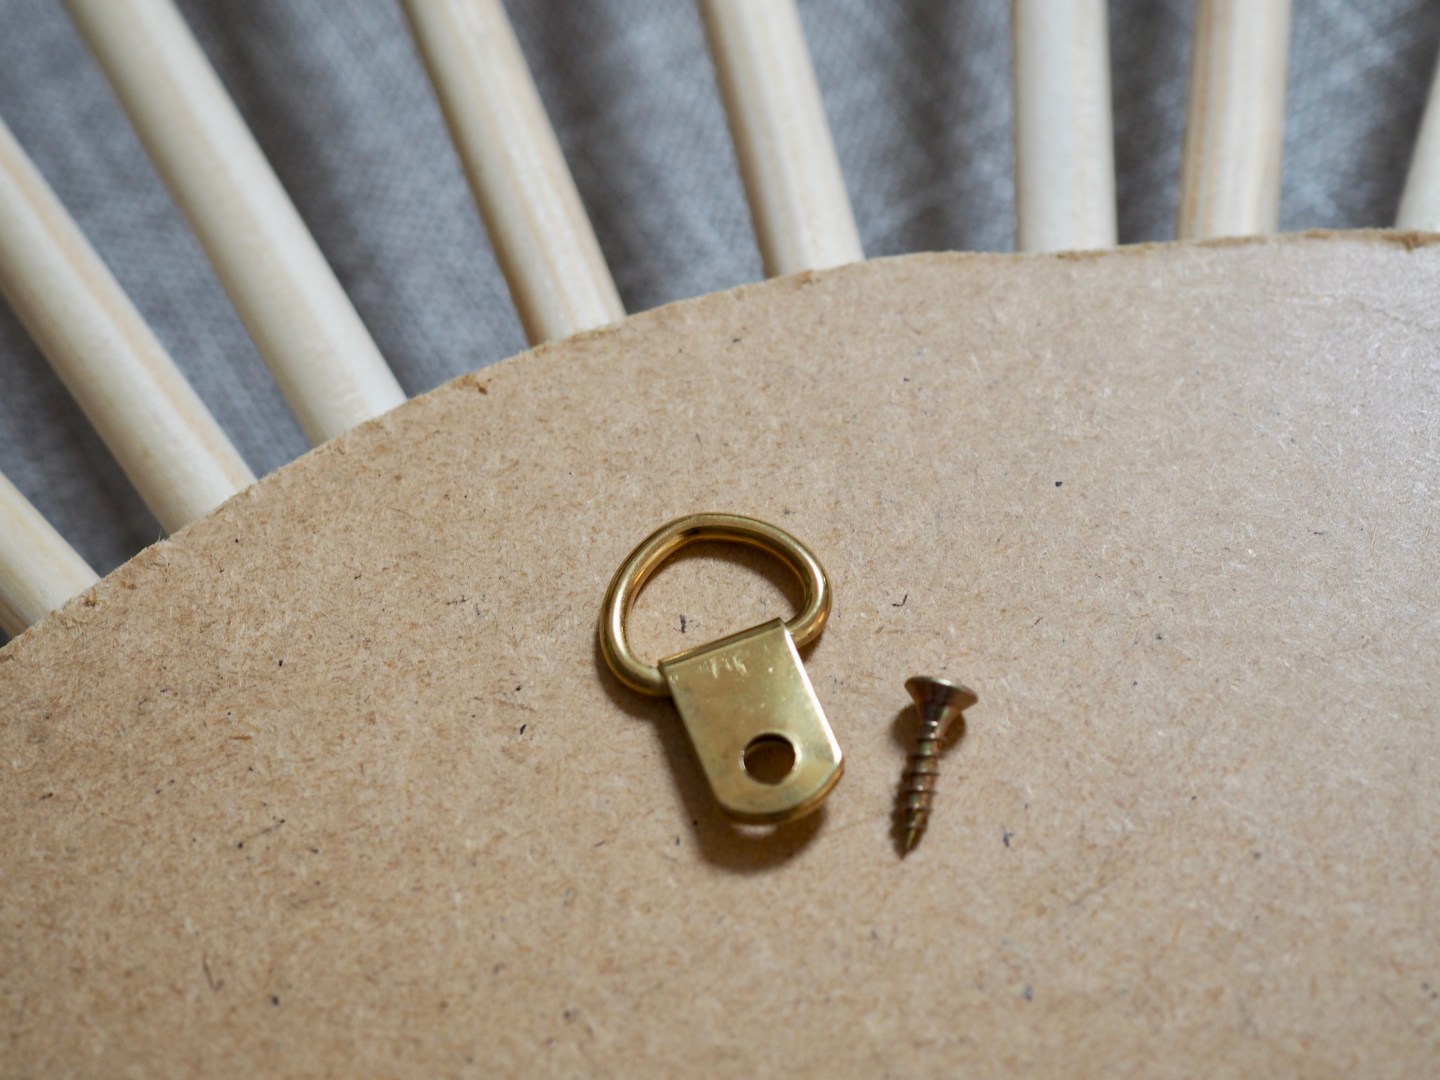
Step 8: When dry, screw a ring fixing to the back, making sure you position it so the mirror will hang with a long spike facing upwards.
TOP TIP:
You may need to lightly sand down the ends of the dowels before painting.
Step 9: Next cover the glass with some newspaper and low tac masking tape in preparation for spraying.
Step 10: In a well-ventilated space, while wearing a protective dust mask, apply a fine layer of spray paint. You may need a primer depending on the frame material. Leave to dry fully.
Step 11: Apply a second coat of spray paint and leave to dry.
Step 12: Remove the newspaper and tape carefully. If any of the original frame is still showing, apply some more spray paint using a fine paintbrush.
Then, simply hang on the wall!
This is my article for Take A Break Magazine.


