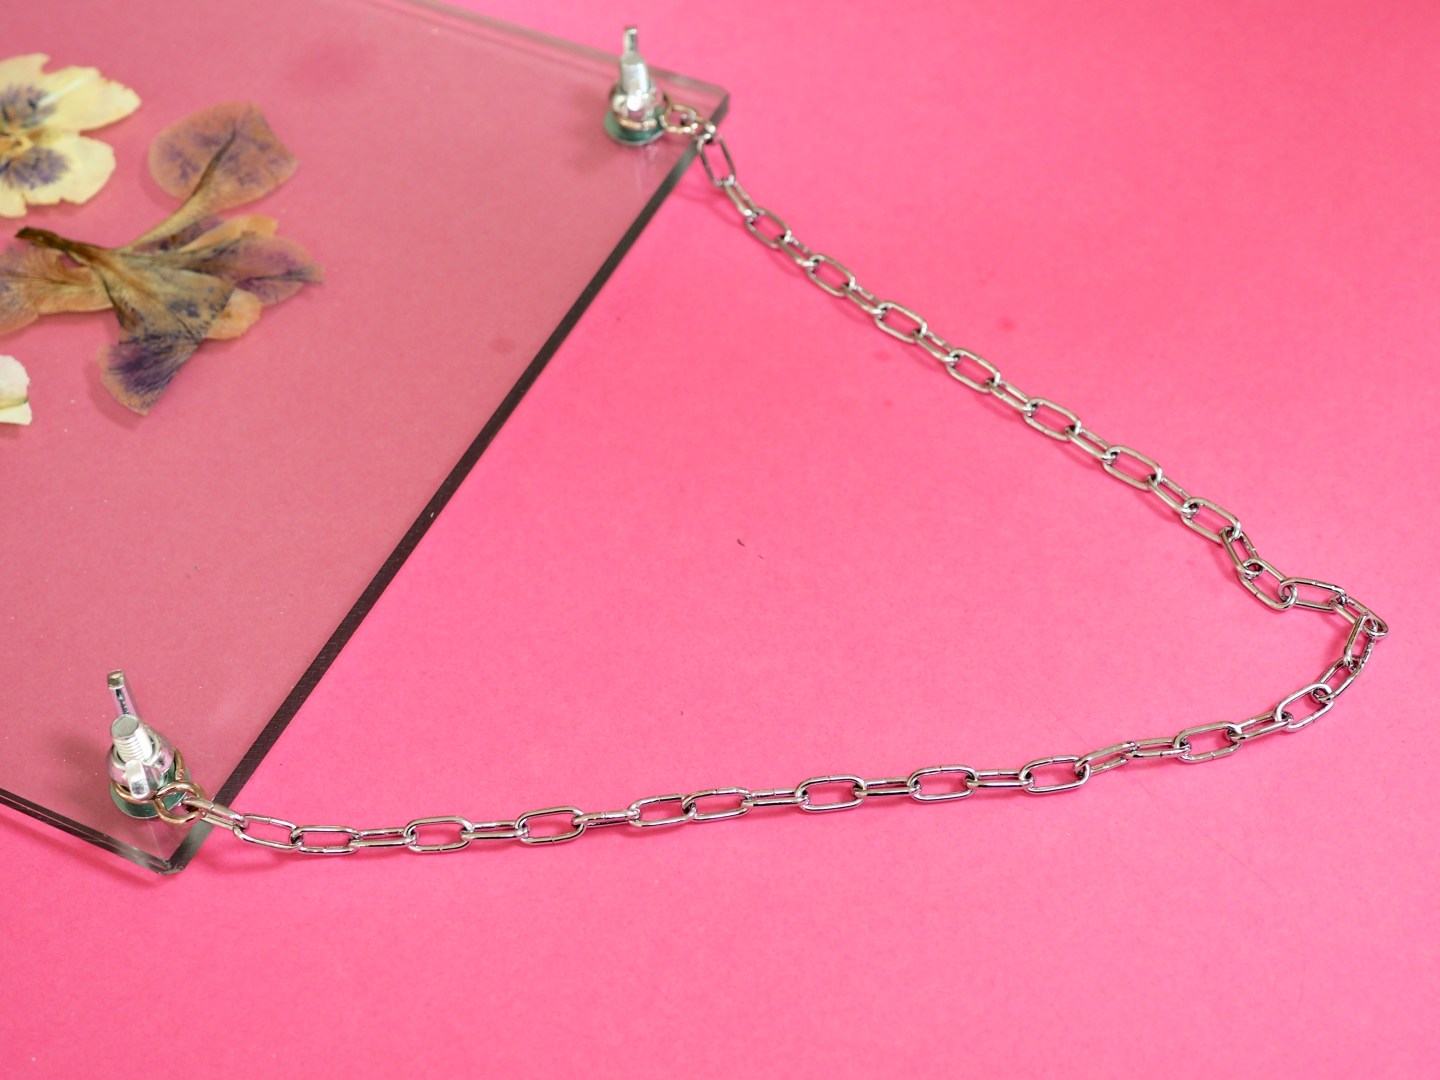
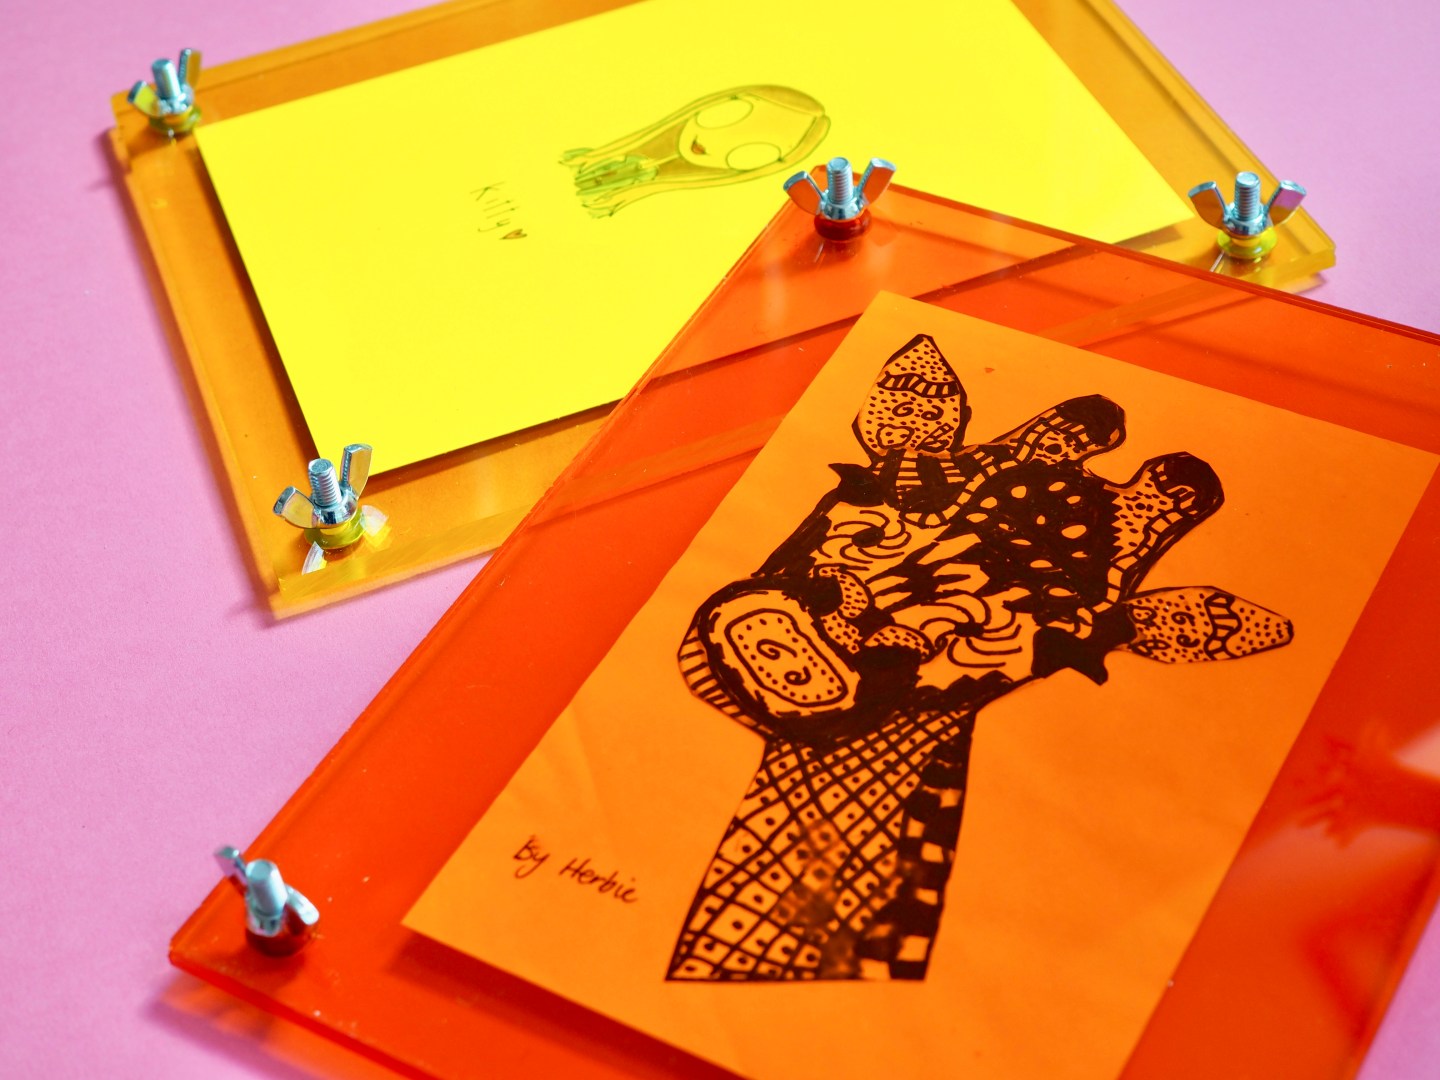
I love pressing flowers in a vintage flower press and have been passing on this nostalgic past time to my daughter but as yet we haven’t created much with the flowers. I used to do this as a child; there is something lovely about preserving nature to enjoy later, but is something not really done today. I have a pressed bluebell in a frame on my bedside table, picked when my husband (and son) proposed to me in the bluebell woods and this sparked an idea of a new craft project to add to my list. When the acrylic company, Plastic Sheets Shop got in touch about working with me, I jumped at the chance to finally create a vintage style piece from a modern material. Here is how to make a hanging acrylic frame (plus some funky neon versions I made for the kids)
Materials needed:
- Pre cut acrylic sheets x 2 (although you can easily cut them yourself using a knife). I chose clear, bright yellow and orange.
- 4 nuts and bolts – I chose wing nuts so it looks like a flower press
- A length of silver chain – I bought mine new but you could use an old piece.
Equipment needed:
- Ruler and pencil
- Masking tape
- Drill
Step 1:
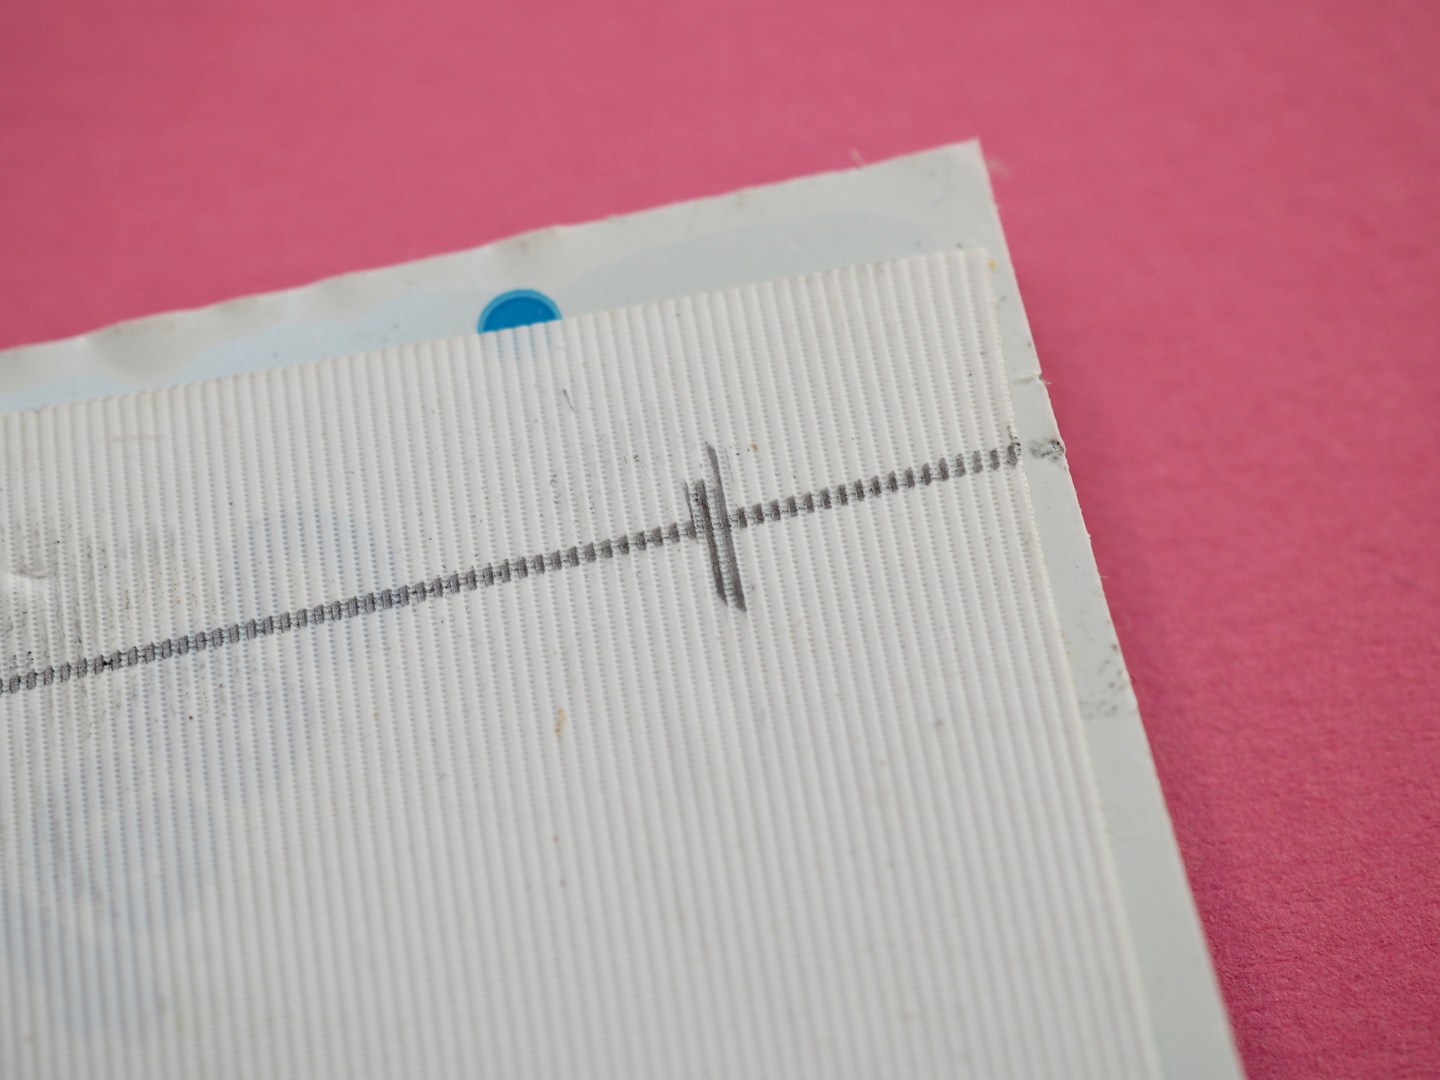
Using the masking tape, stick the two sheets of acrylic together making sure that they sit perfectly as they will when finished. Apply 4 pieces of masking tape to one side in each corner where you will be creating holes.
Step 2:
Using the ruler, mark evenly where you want the holes to be drilled. Mine were half an inch away from the sides.
Step 3:
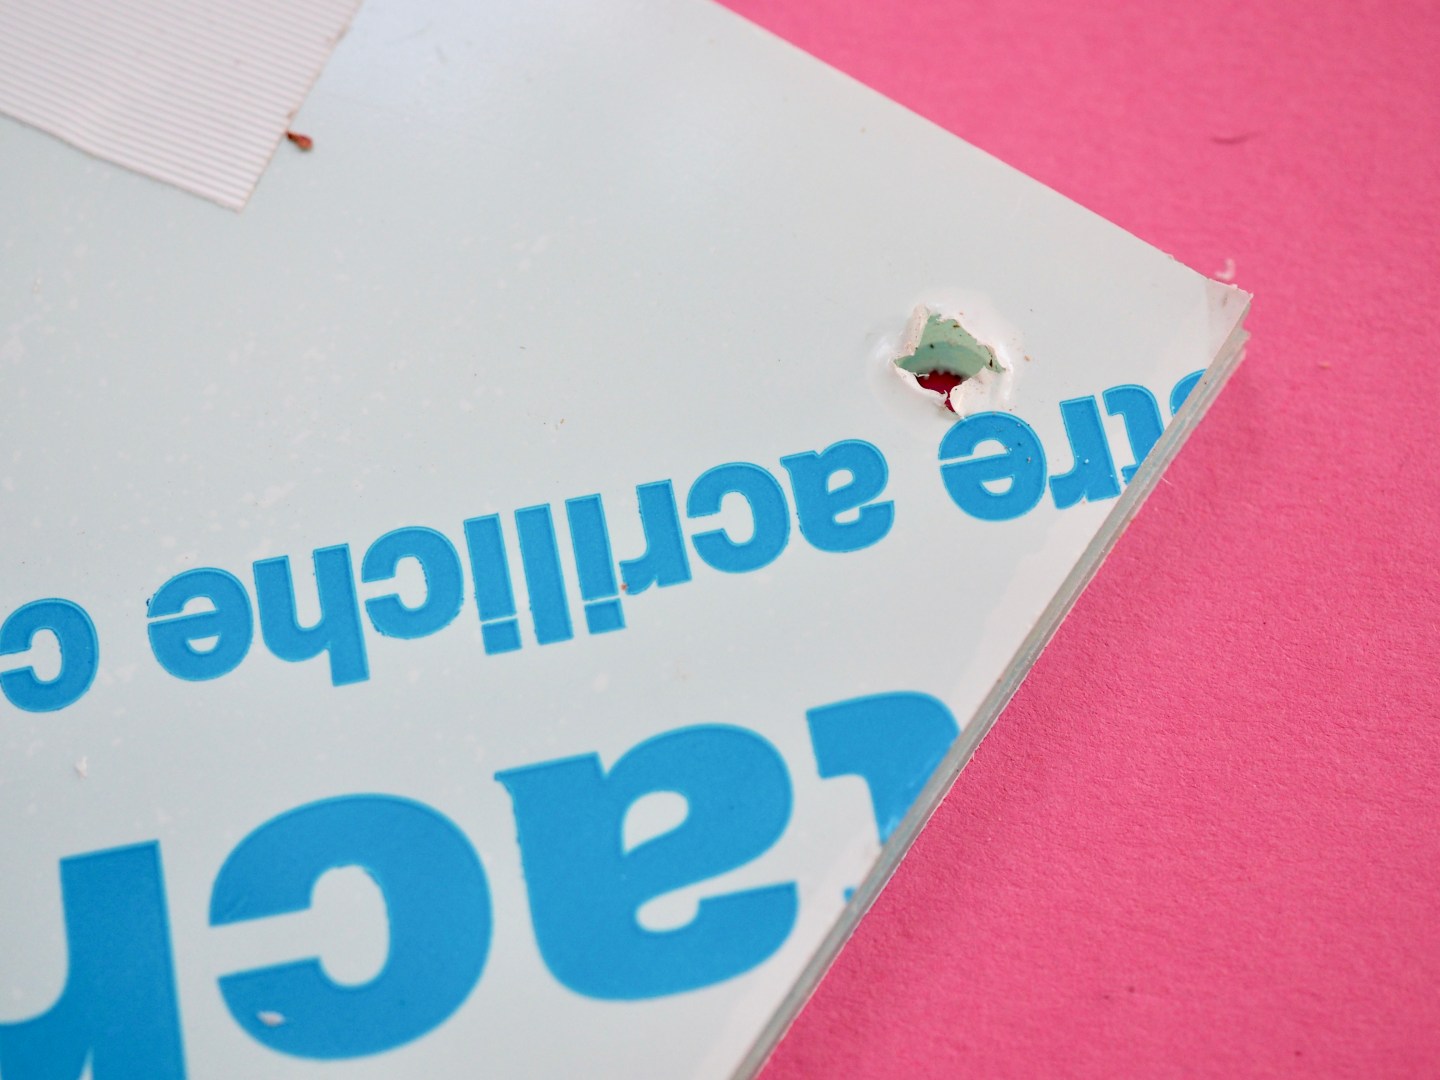
Drill carefully the holes, through both pieces at the same time.
Step 4:
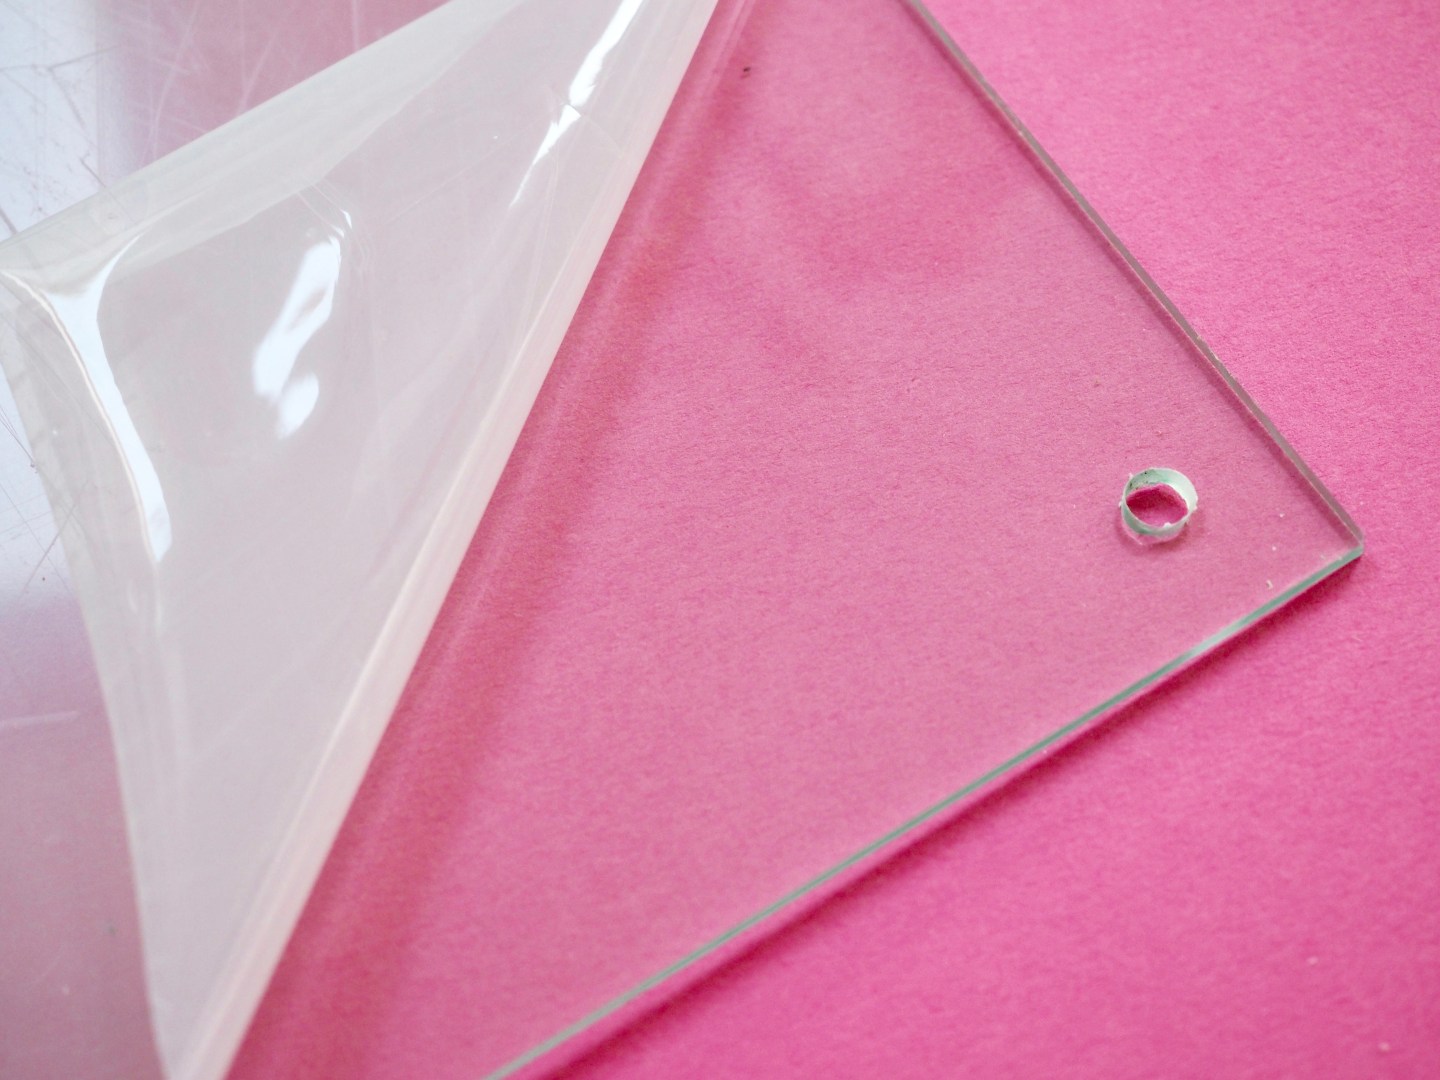
Unstick the masking tape and peel back the plastic covering to reveal 2 pieces with holes drilled. It is a good idea to wear gloves as you don’t want too many finger prints over the acrylic.
TOP TIP:
When you separate the acrylic, lay them down in the same position they were drilled in to make sure they fit back together properly. (Believe me, I didn’t do that so when I put them together the holes weren’t perfectly aligned!)
Step 5:
Put the bolts through the holes on one piece and start to position whatever you want to frame onto it. I chose flowers saved in our vintage flower press, but also photos or children’s art looks fab.
Step 6:
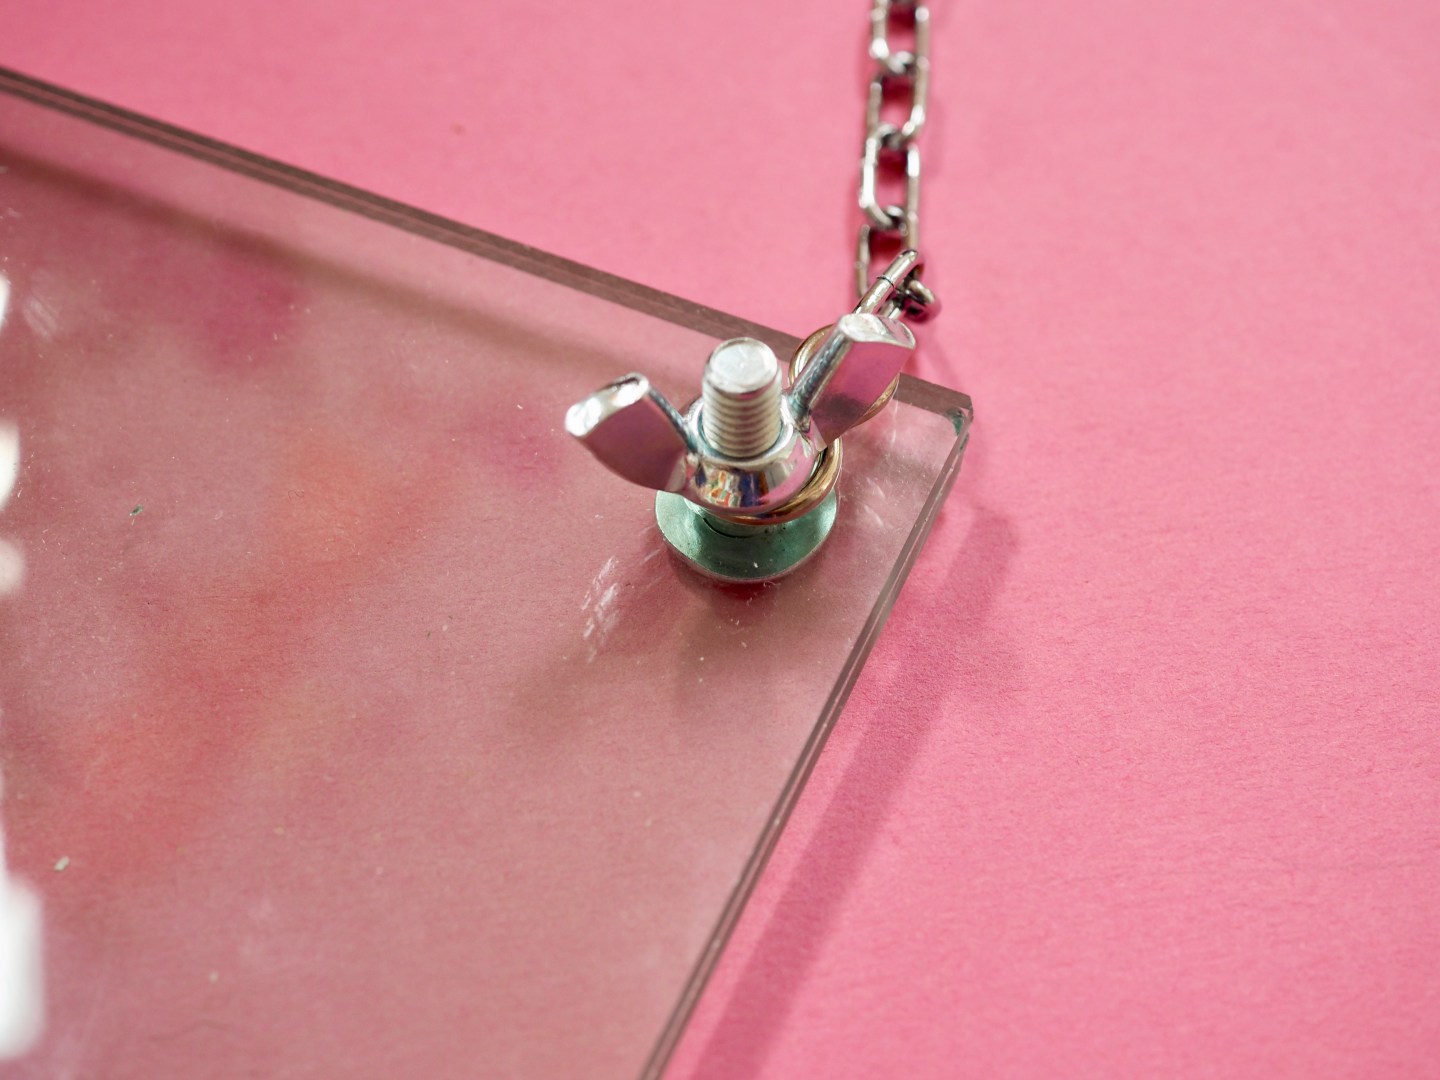
Place the other piece on top over the bolts. I chose to add a piece of chain at this point over the top two bolts before adding the wing nuts. You may wish to create two more holes for the chain however it is easier and more flexible to not.
Give it a polish to get all those finger prints off and you are finished.
I didn’t add chain for the bright ones as they look more modern. I will hang them using Command strips or the like on their bedroom doors.
(This is a sponsored post)
For more of my DIY tutorials click here.


