Forget cheap plastic Halloween decorations this year and make a luxe velvet pumpkin instead. They are perfect for autumn so could be out on display for longer too!

Materials Needed:
- 50cm square pieces of velvet (could be smaller or larger of course!)
- Contrasting material for leaves – approx. 30 cm x 10 cm to make 4 leaves
- Rope – approx. 15 cm long
- Soft toy stuffing
Equipment Needed:
- Needle and cotton
- Sharp fabric scissors
- Ruler
- String
- 2 pens
- Pinking shears
- A scrap piece of paper
Step 1: Cut the fabric into a square shape.

Step 2: Using a ruler mark the central point on the back of the fabric.

Step 3: You need to draw a circle by drawing around a template. If you don’t have anything to draw around, make a protractor by tying a piece of string around two pens to mark out a perfect circle. Cut this out using fabric scissors.


Step 4: Using double cotton threaded through the needle, create a running stitch around the edge of the fabric, 1cm from the edge. Leave a long piece of thread hanging at the start on the outside of the velvet as you will need this to pull the stitching tight later.

Step 5: When you have finished the stitching, gently pull the cotton together to form a tight gathering. Do not pull it together fully.
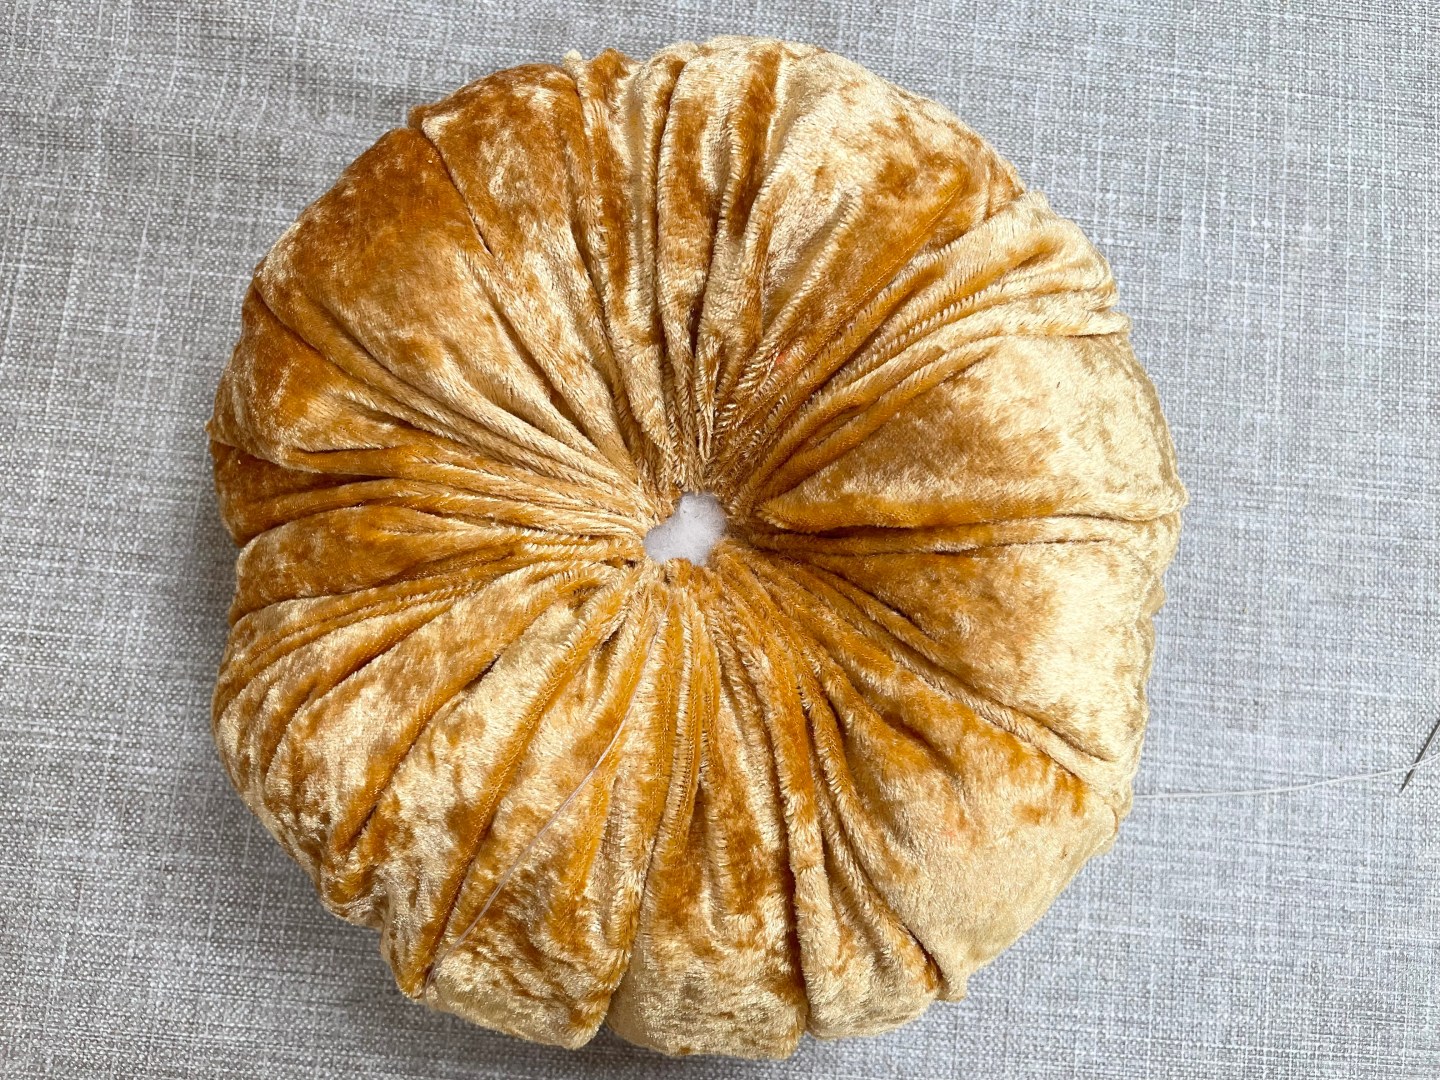
Step 6: Stuff the pocket full of soft toy filling.

TOP TIP – I wanted to create a flatter pumpkin shape rather than a ball like shape, so it looked more realistic.
Step 7: When it is full, gently pull both ends of cotton tightly to close the pumpkin. Don’t worry if there is a small hole left as this is perfect to push the stalk rope into later. When complete tie a knot in both ends of the cotton.


Step 8: If you have cotton left, do not unthread your needle. If you don’t have any length of cotton left, cut more and thread through the needle. To create a better pumpkin shape, add a few stitches from top to bottom at the central point. You will need to push the pumpkin tightly to be able to do this.


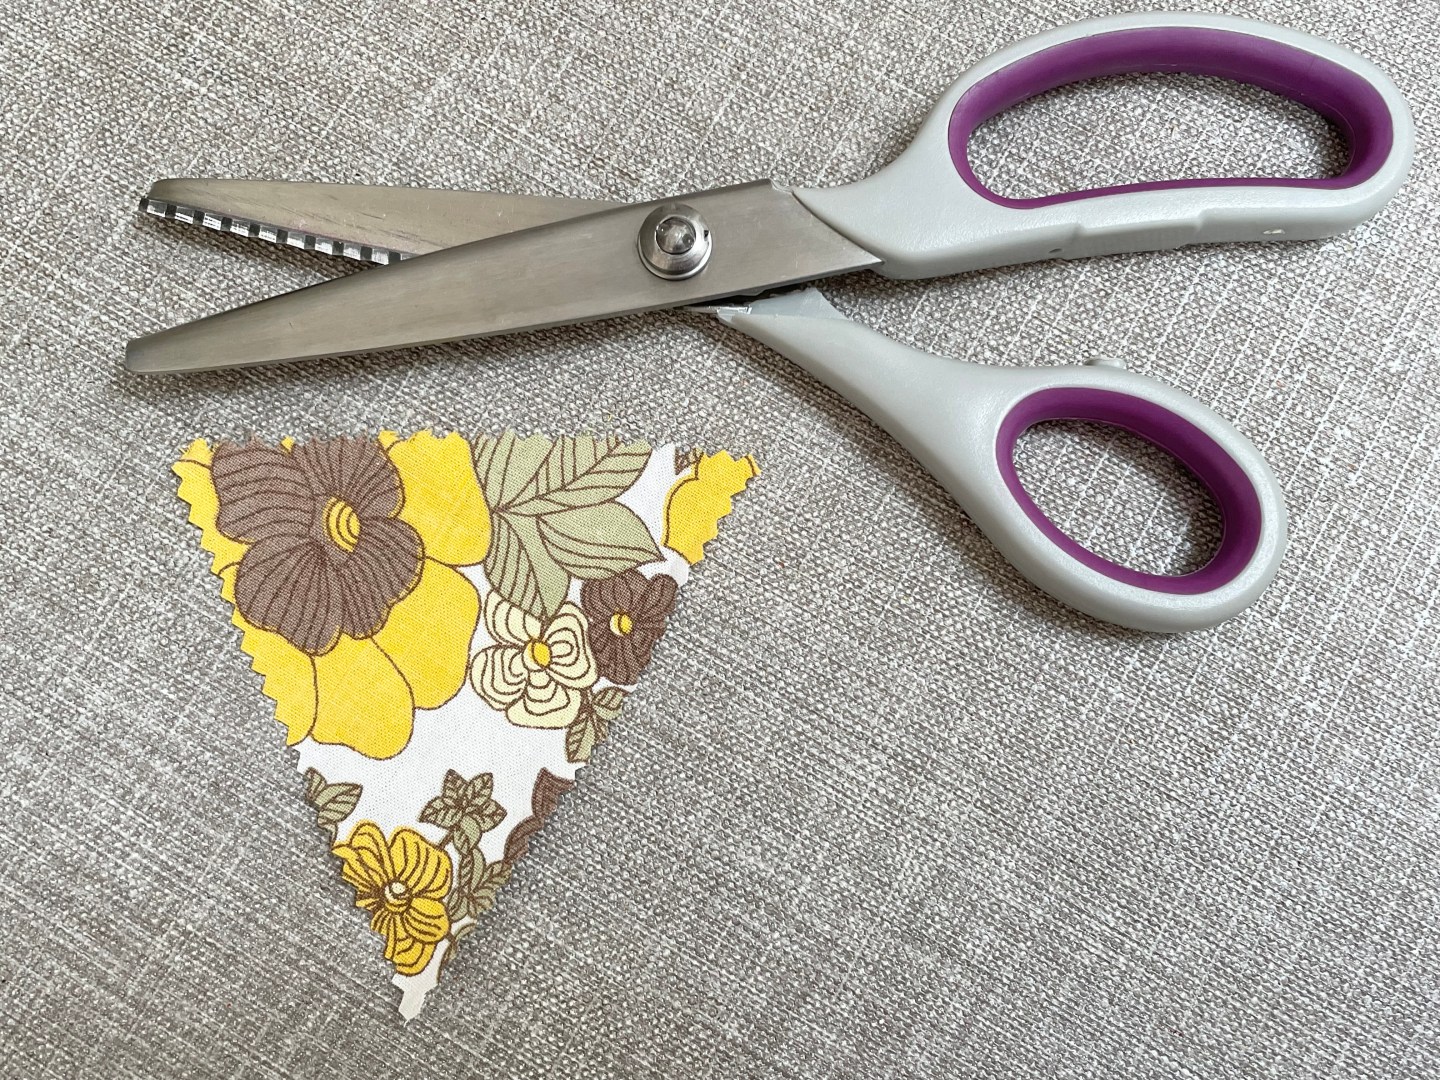
Step 9: Cut out on a piece of paper a triangle shape to form a template for the leaves.

Step 10: Using pinking shears, cut out triangle shapes using the template in contrasting fabric.
Step 11: Stitch a row of running stitches along the top edge of the triangle and pull both ends together to form a gathered edge. Stitch these ends onto the pumpkin.


Step 12: To make the stalks, cut lengths of rope, aprox. 15 cm long. Tie both ends together and stitch into place. These can then be moulded into shapes, twisted or left as a loop.


TOP TIP: At Halloween time, save and dry real pumpkin stalks to add later or to new ones that you make.
Step 13: Gently squash the pumpkins to make your desired shape.


This first appeared in Take A Break Magazine. Read more of my craft tutorials here.

